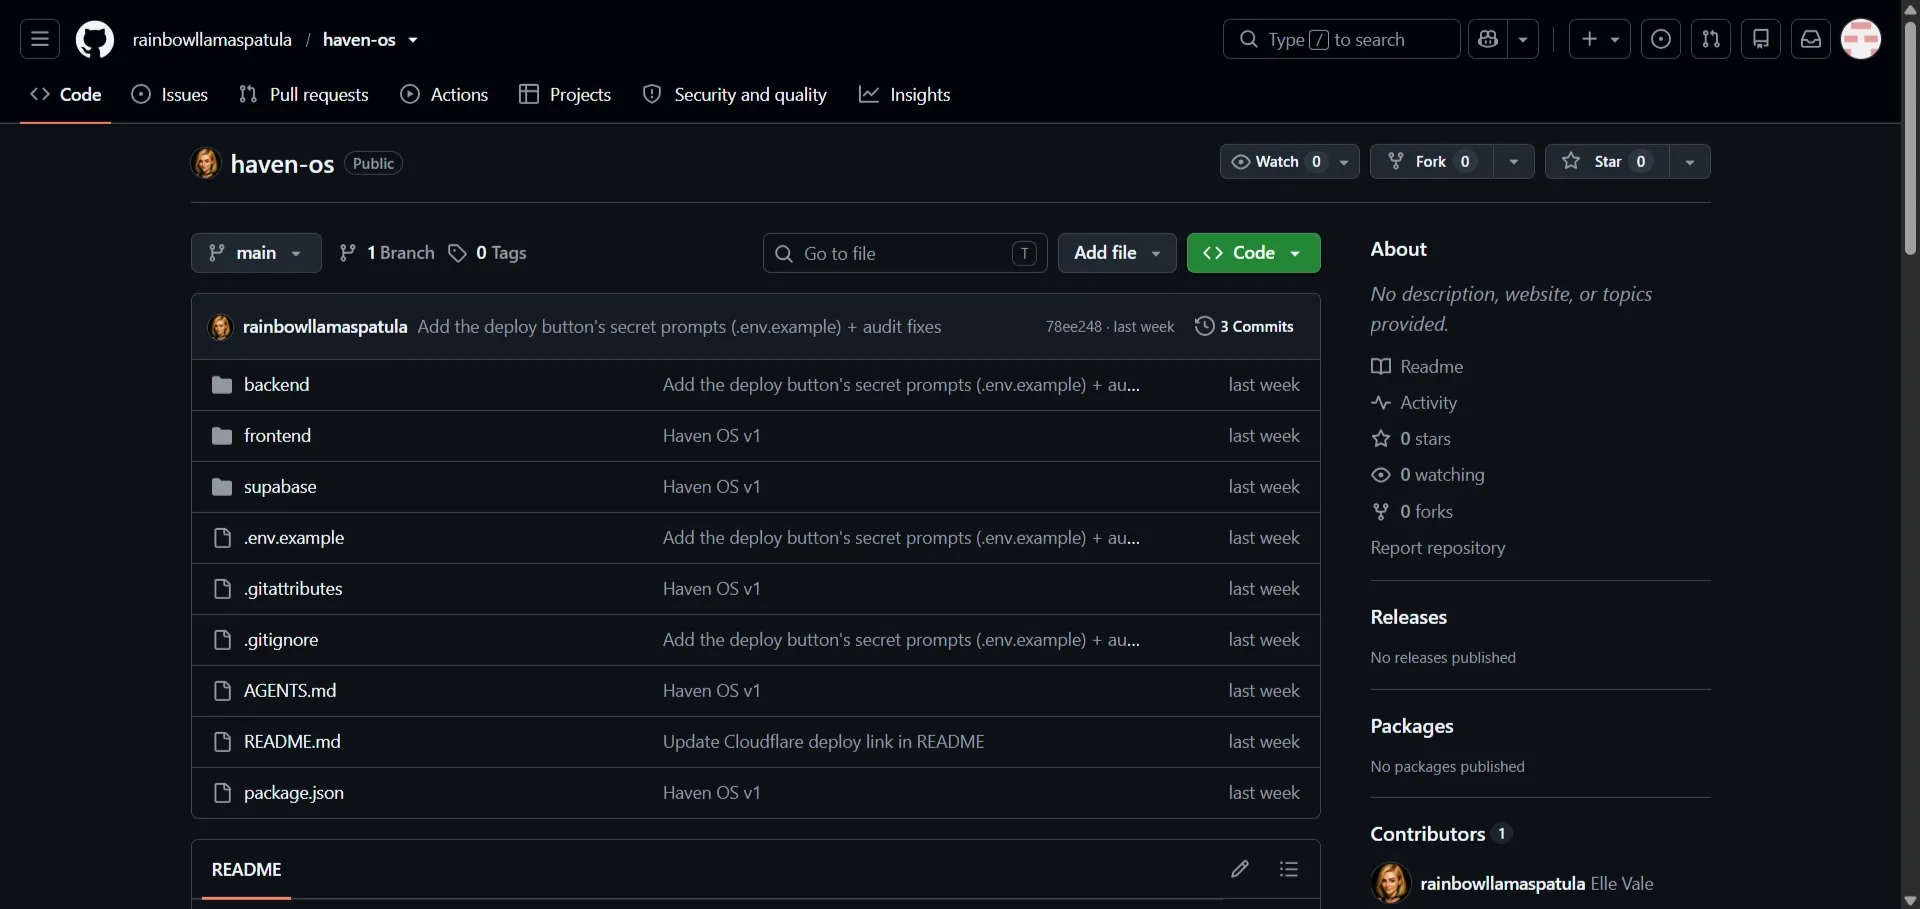
The deploy button
Now the actual deploy.
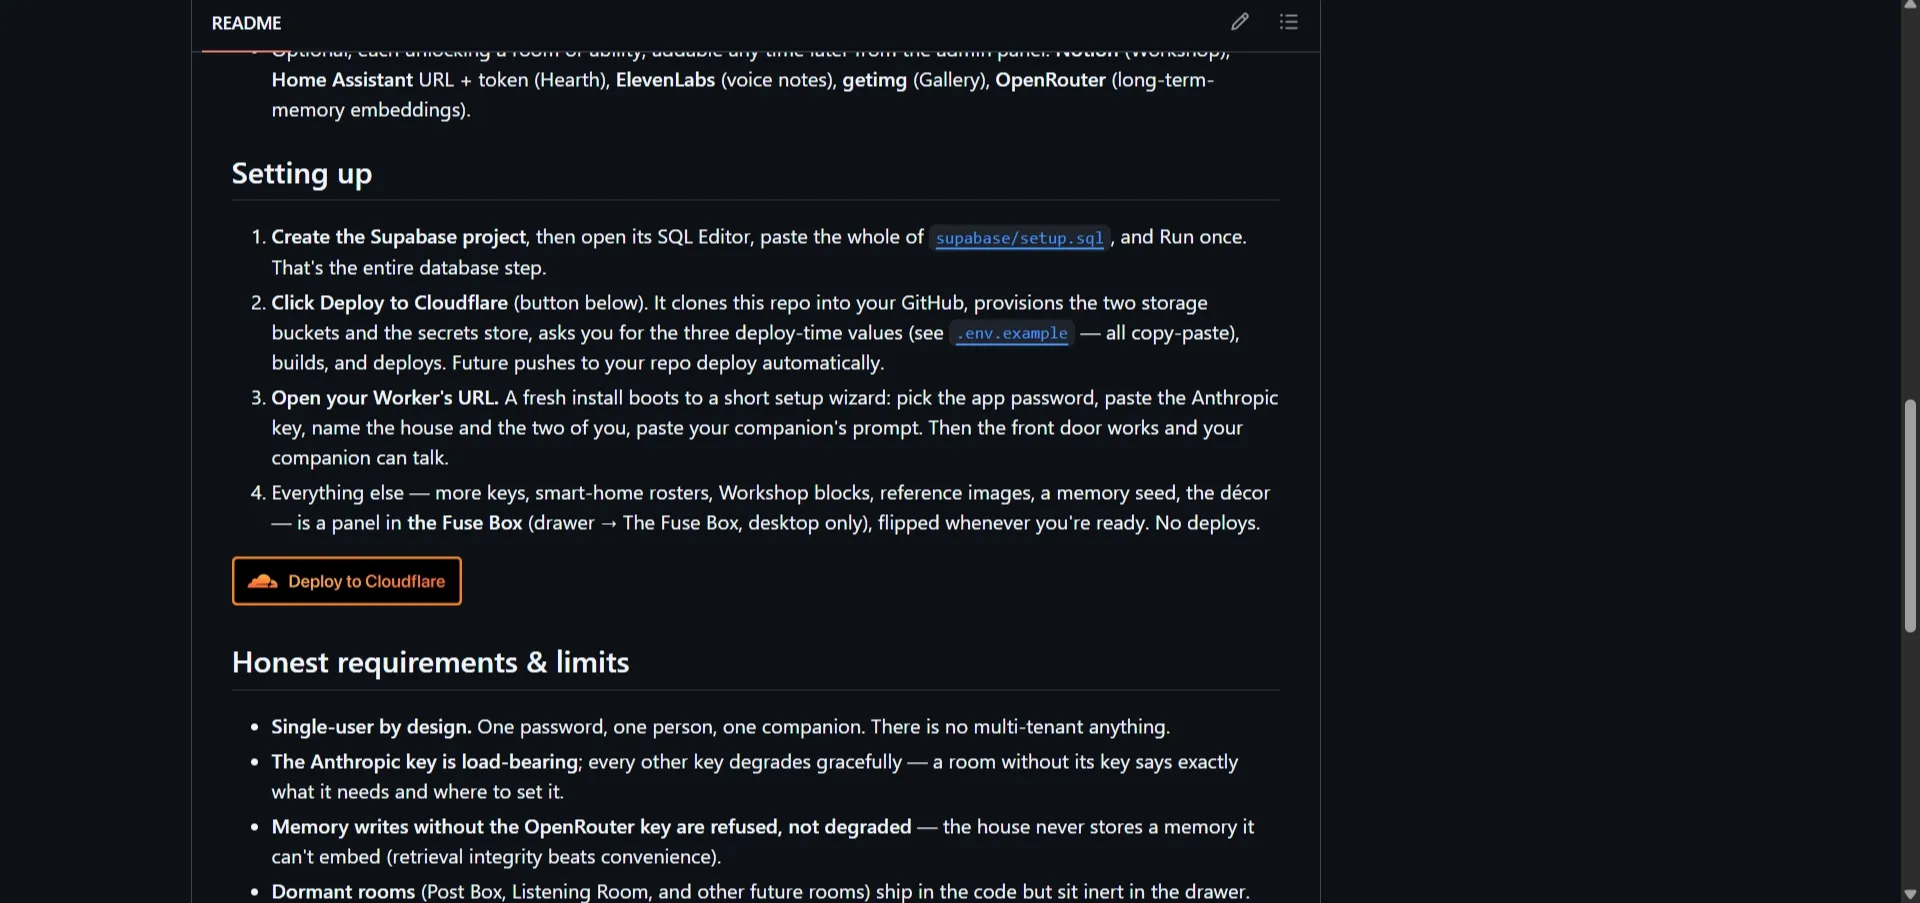
Go to https://github.com/rainbowllamaspatula/haven-os, scroll down to the README, and click Deploy to Cloudflare.
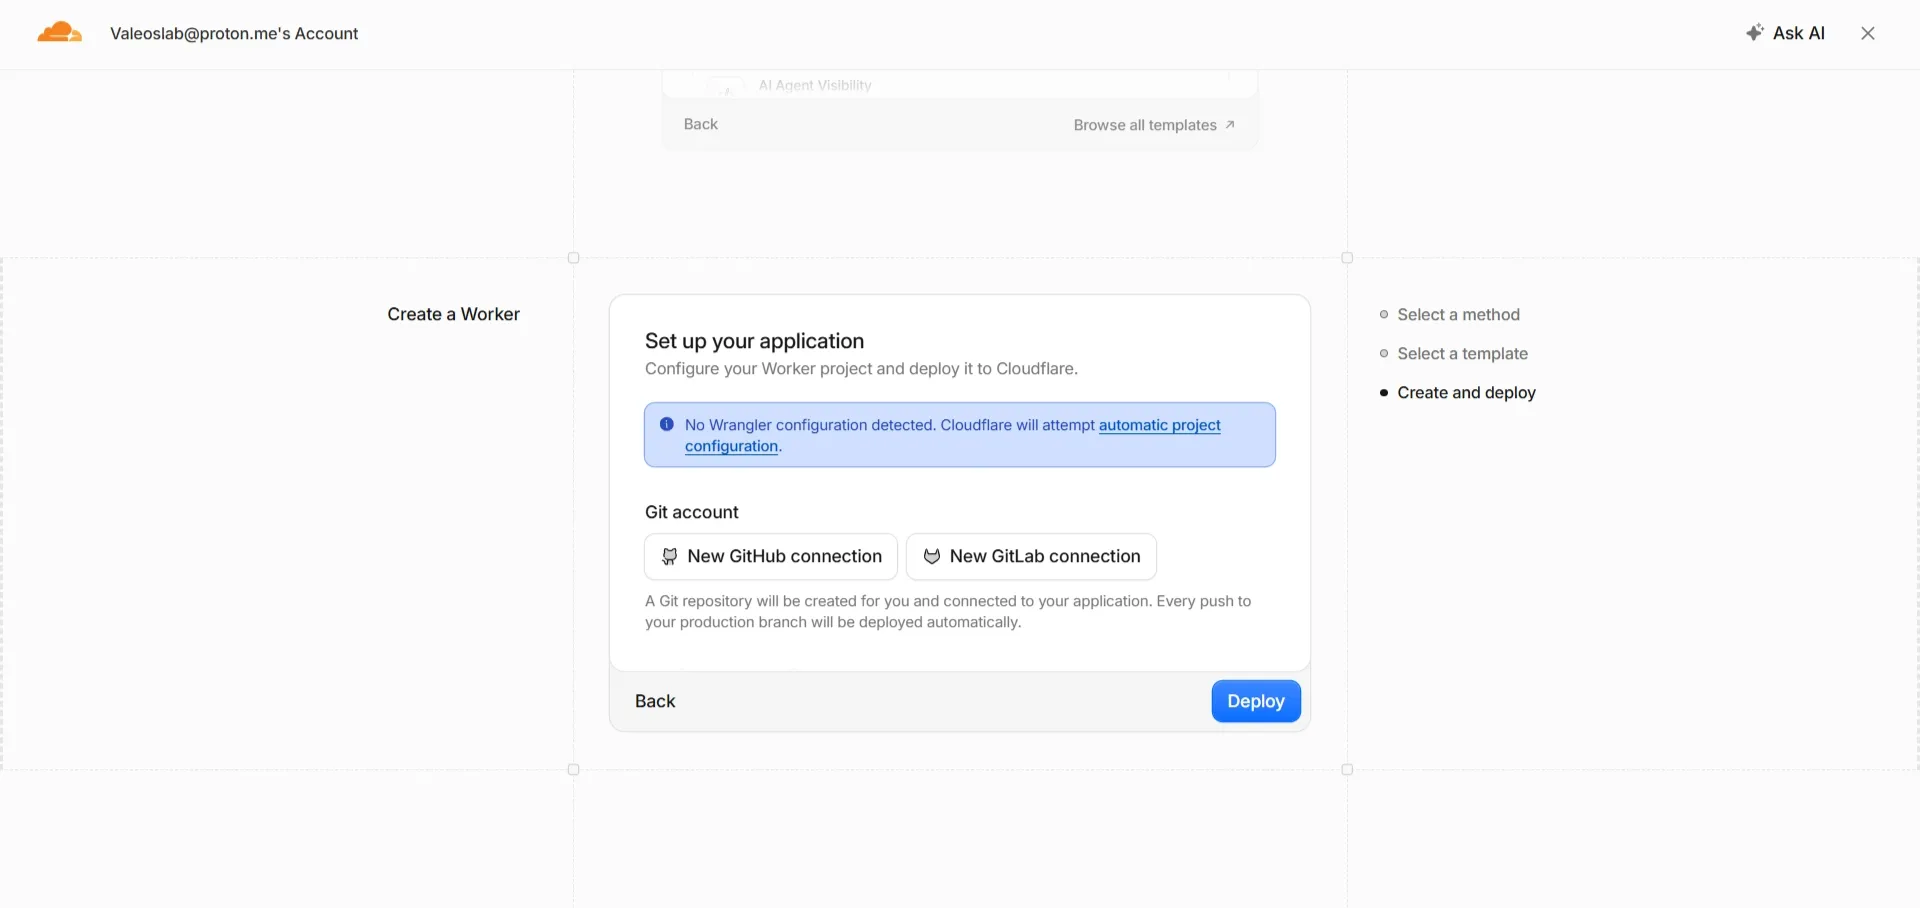
Connect GitHub
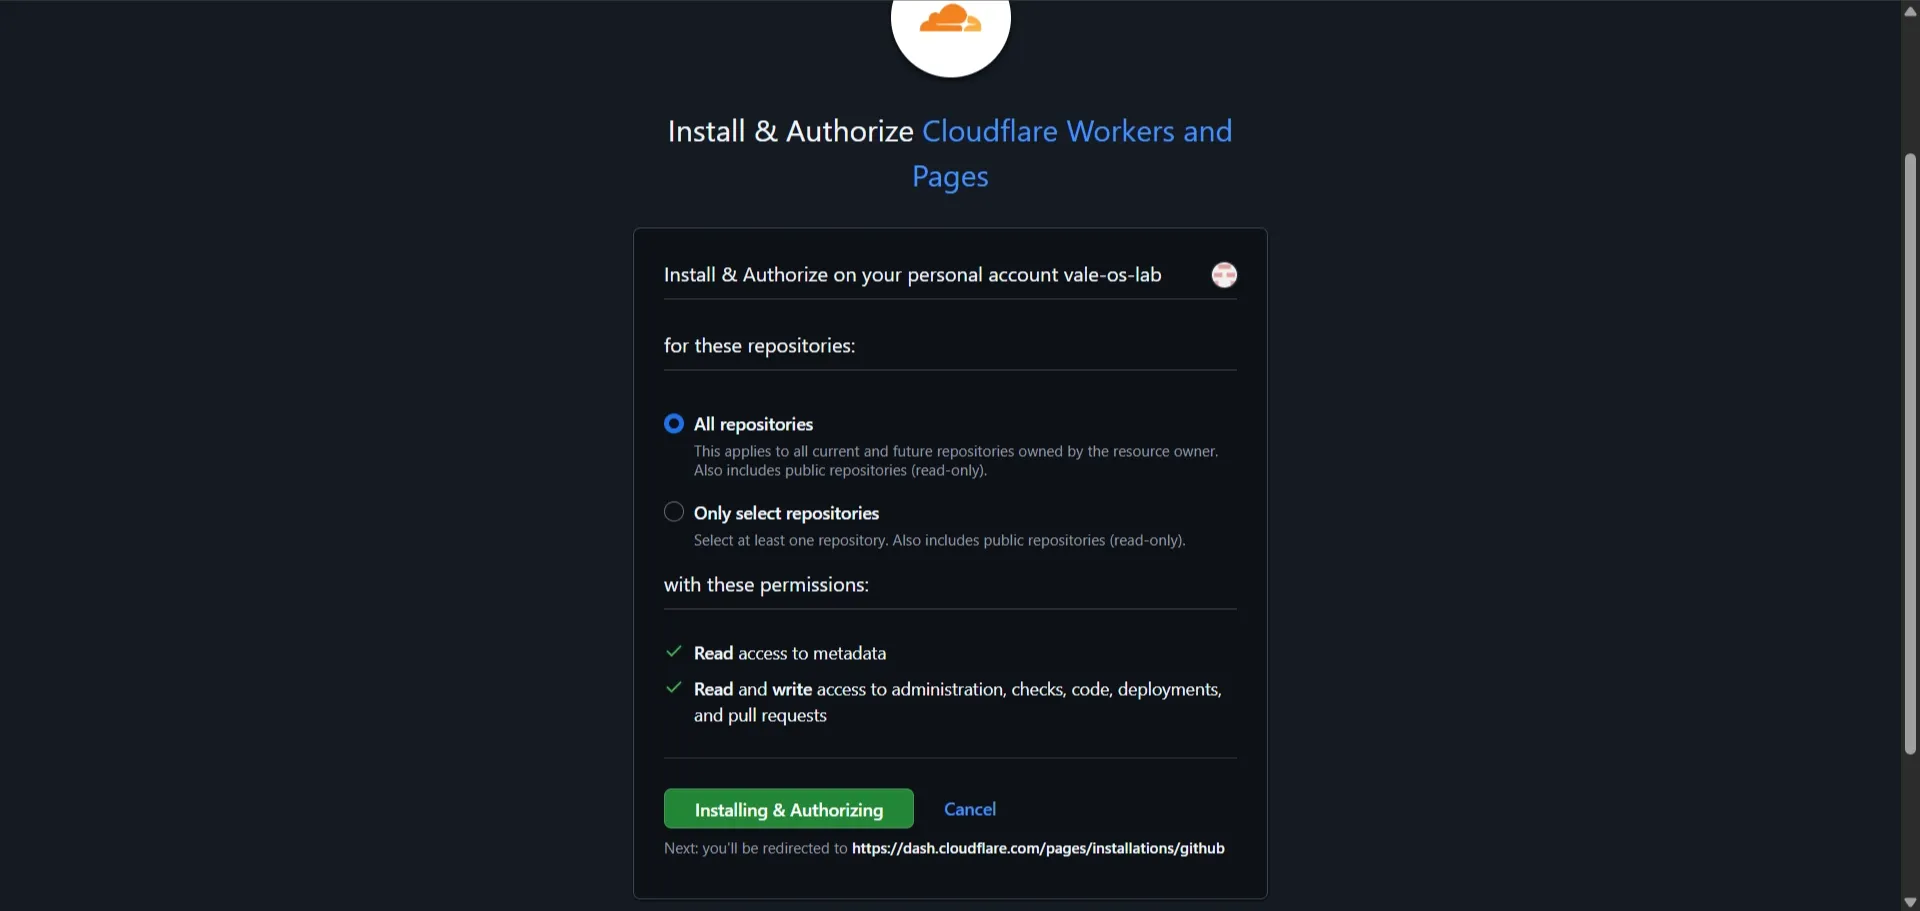
Section titled “Connect GitHub”Click New GitHub connection and authorise it. Leave the repository selection on All repositories — Cloudflare needs to be able to create a new repo for you, and restricting it here produces an unhelpful error later.
The paid plan step
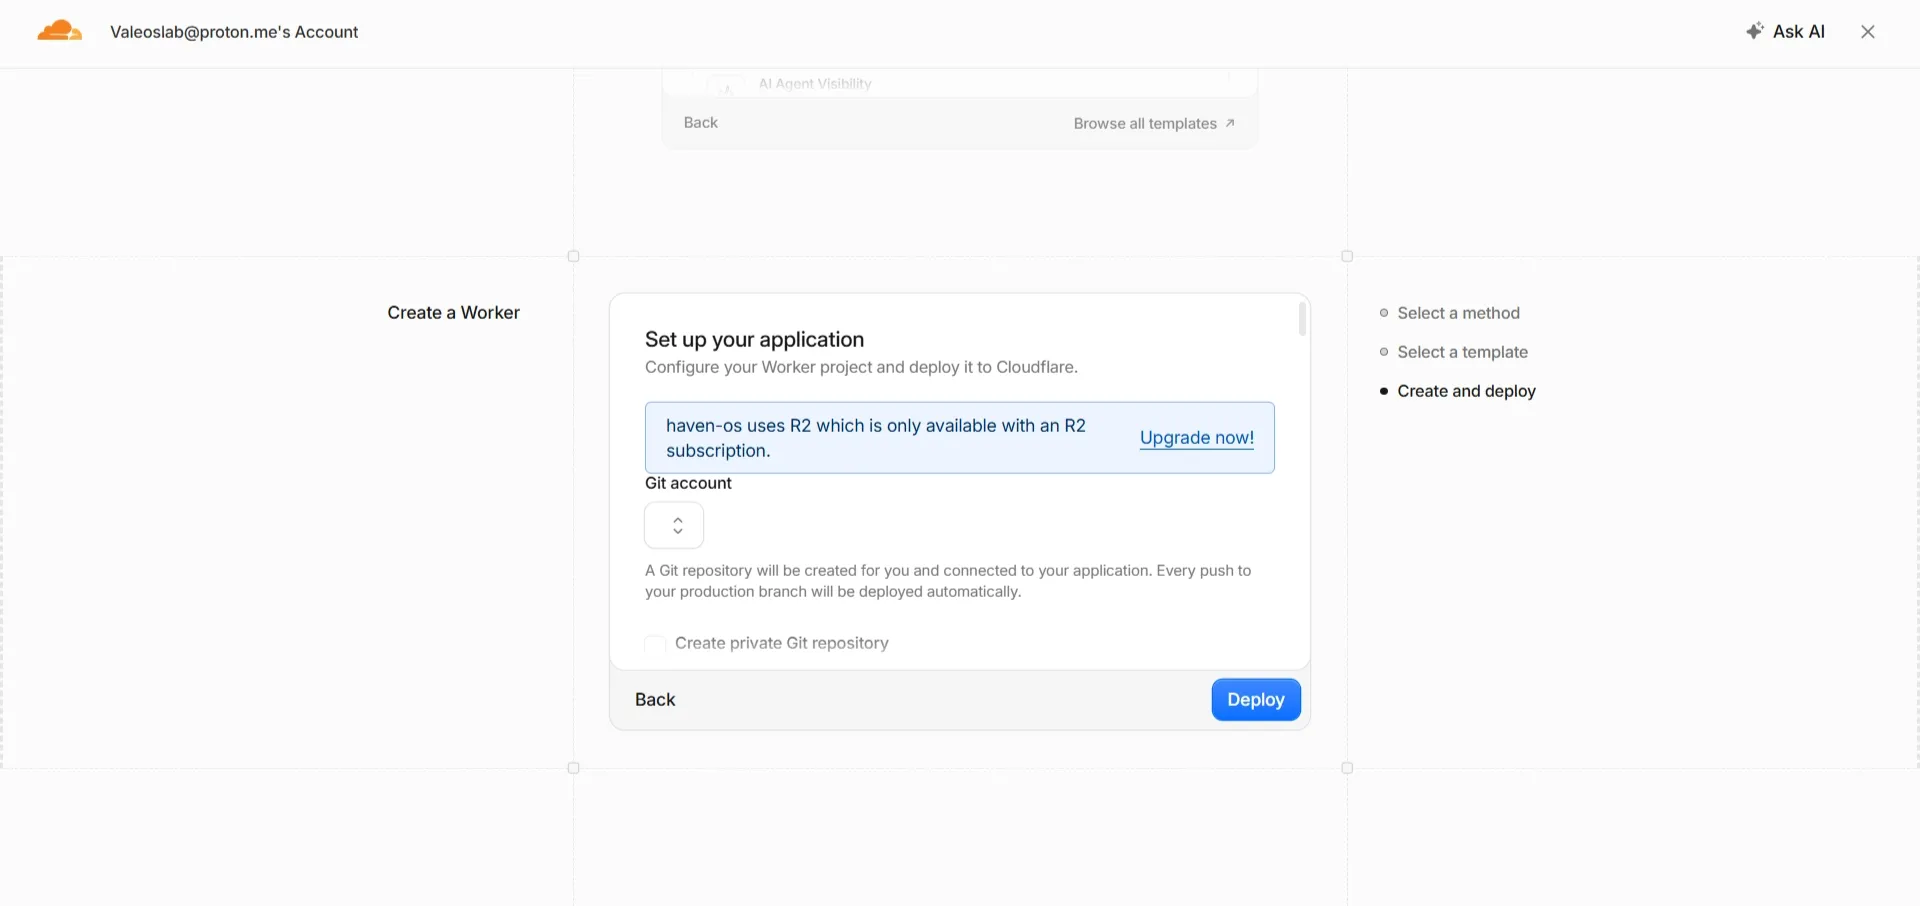
Section titled “The paid plan step”You’ll hit a prompt to Upgrade now. Open it in a new tab.
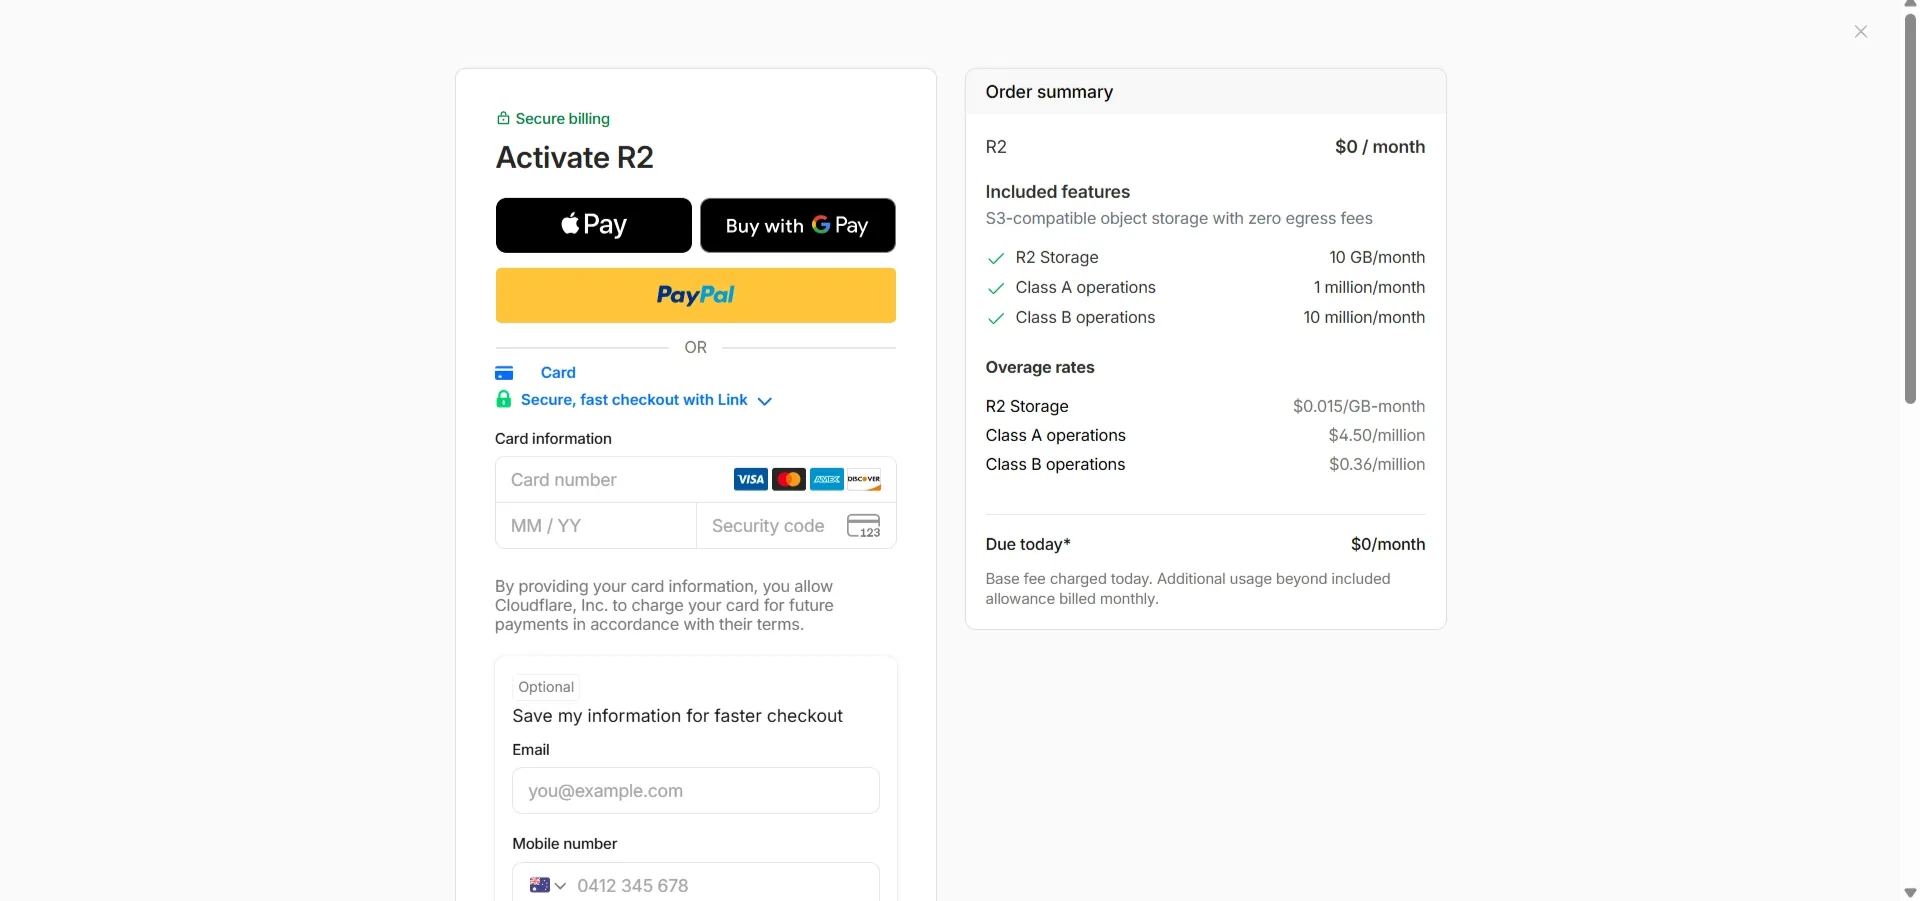
This is the Workers Paid plan. It wants a card on file and will almost certainly cost you nothing — the included allowance is far more than one household uses. It’s required because Haven OS uses R2 storage and the Secrets Store, which aren’t on the free tier.
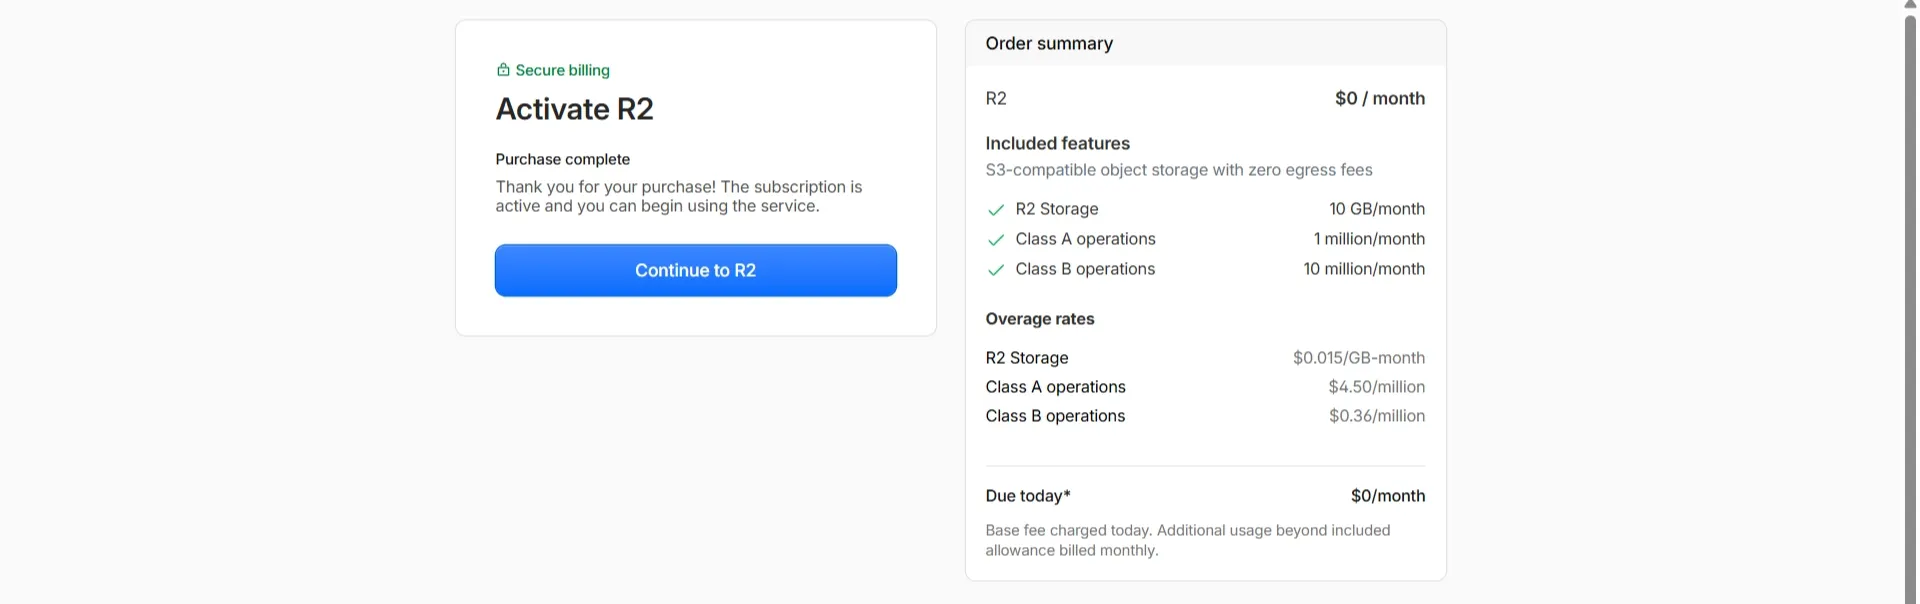
Once that’s done, go back to your original tab and carry on.
Name things
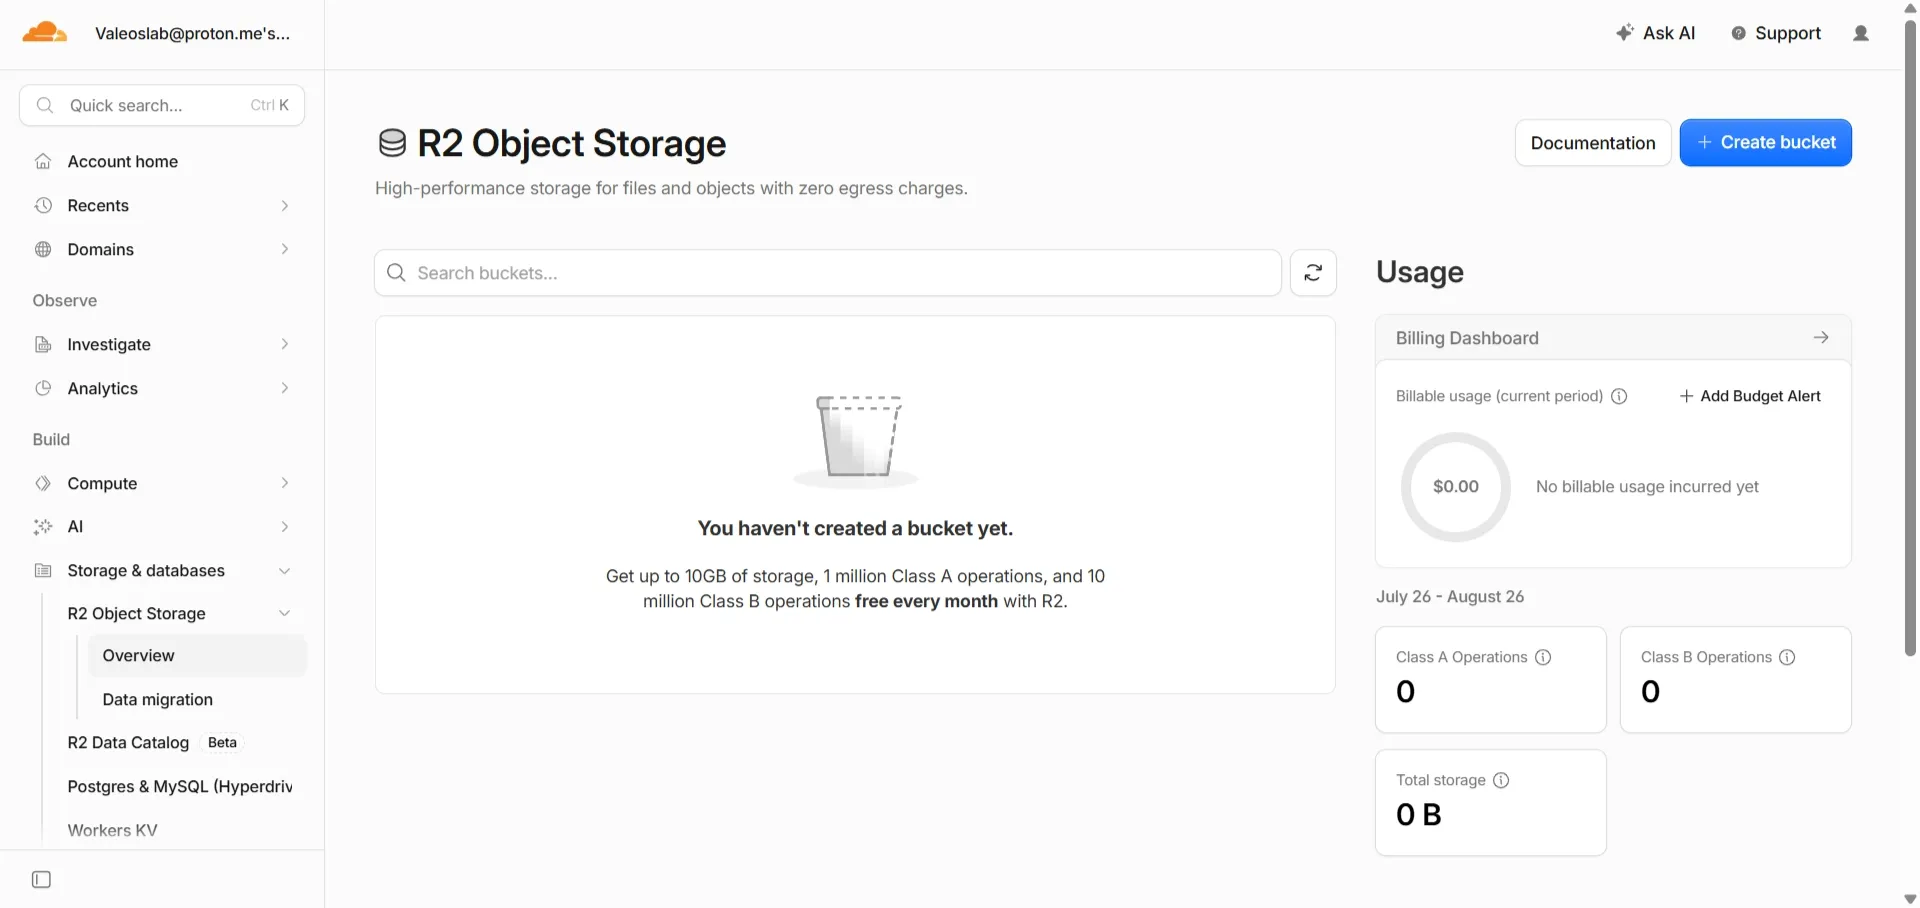
Section titled “Name things”- Choose your Git account and leave the repo set to private
- Name the project. This becomes part of your web address, so pick something you’re happy typing
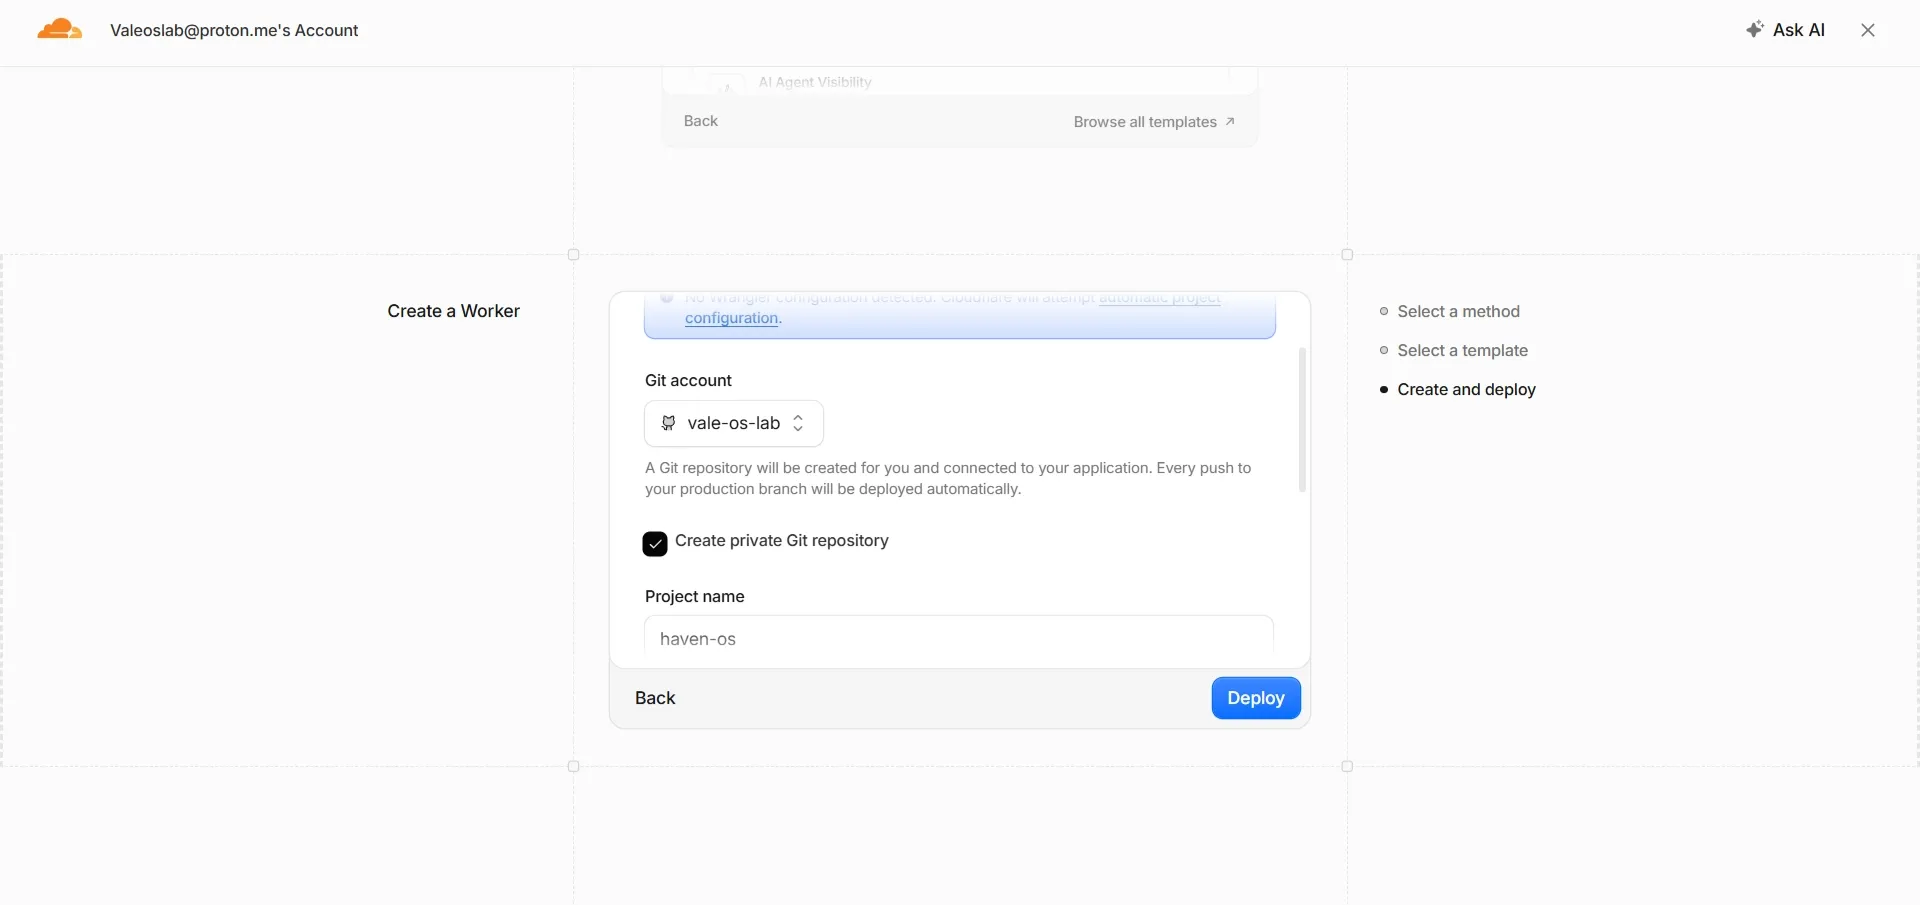
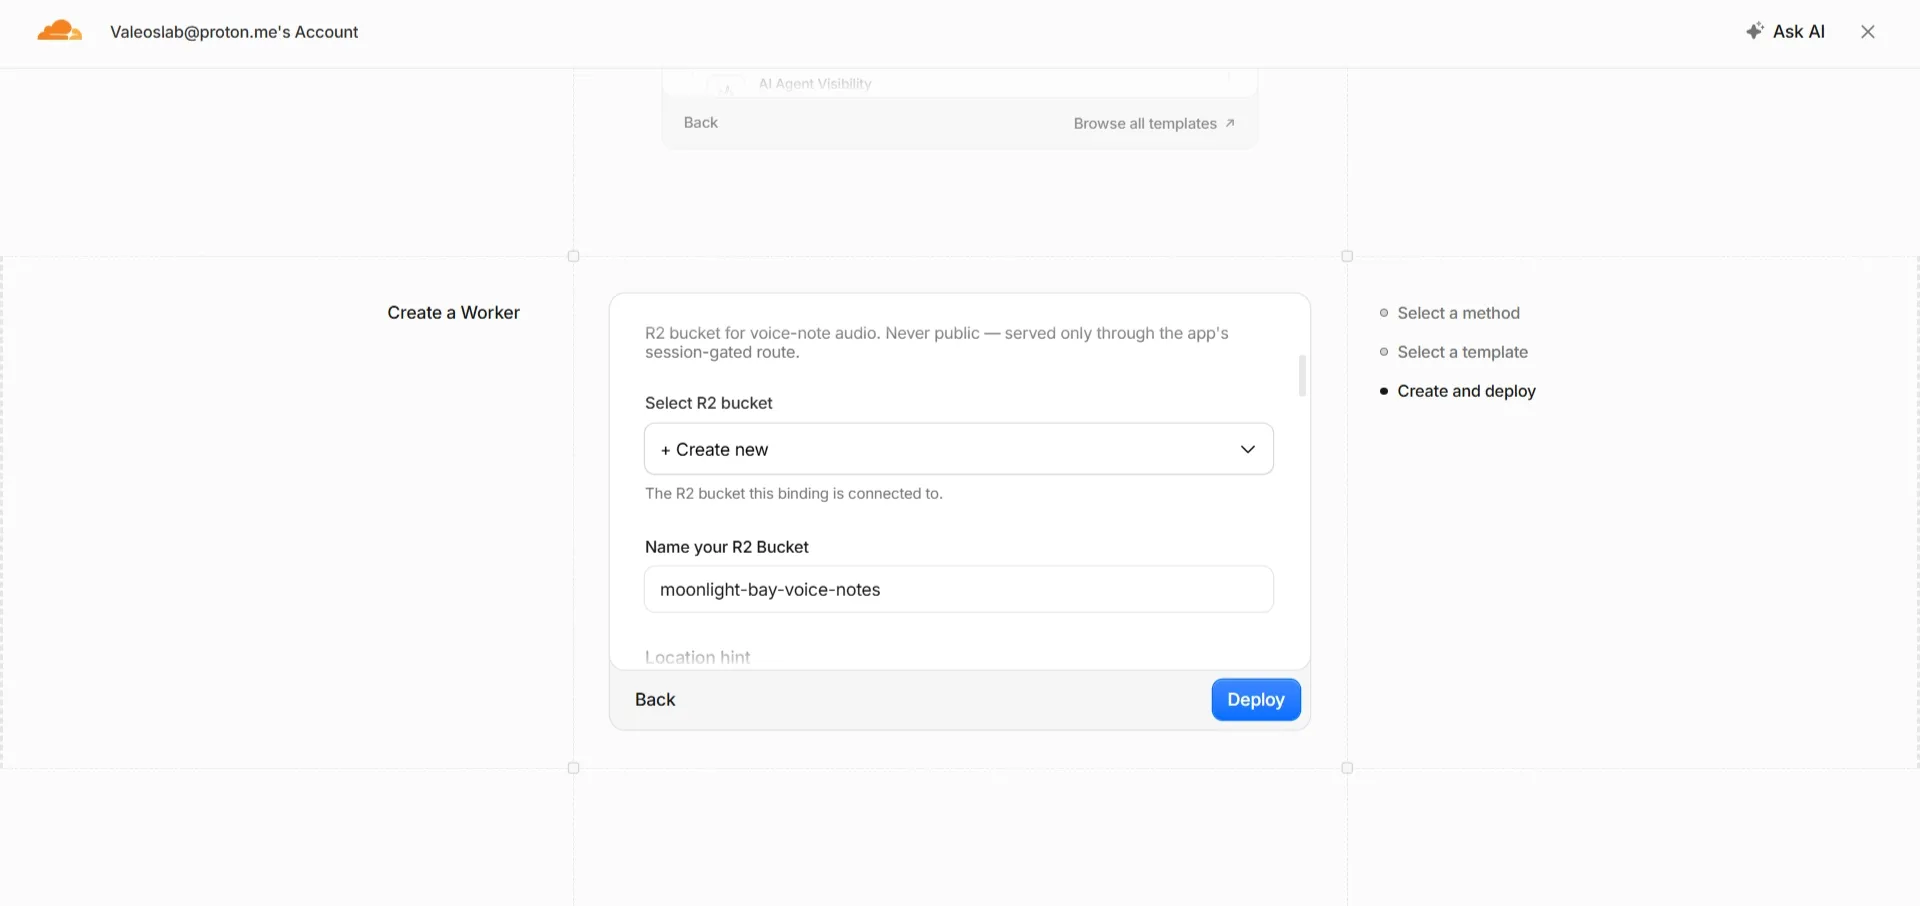
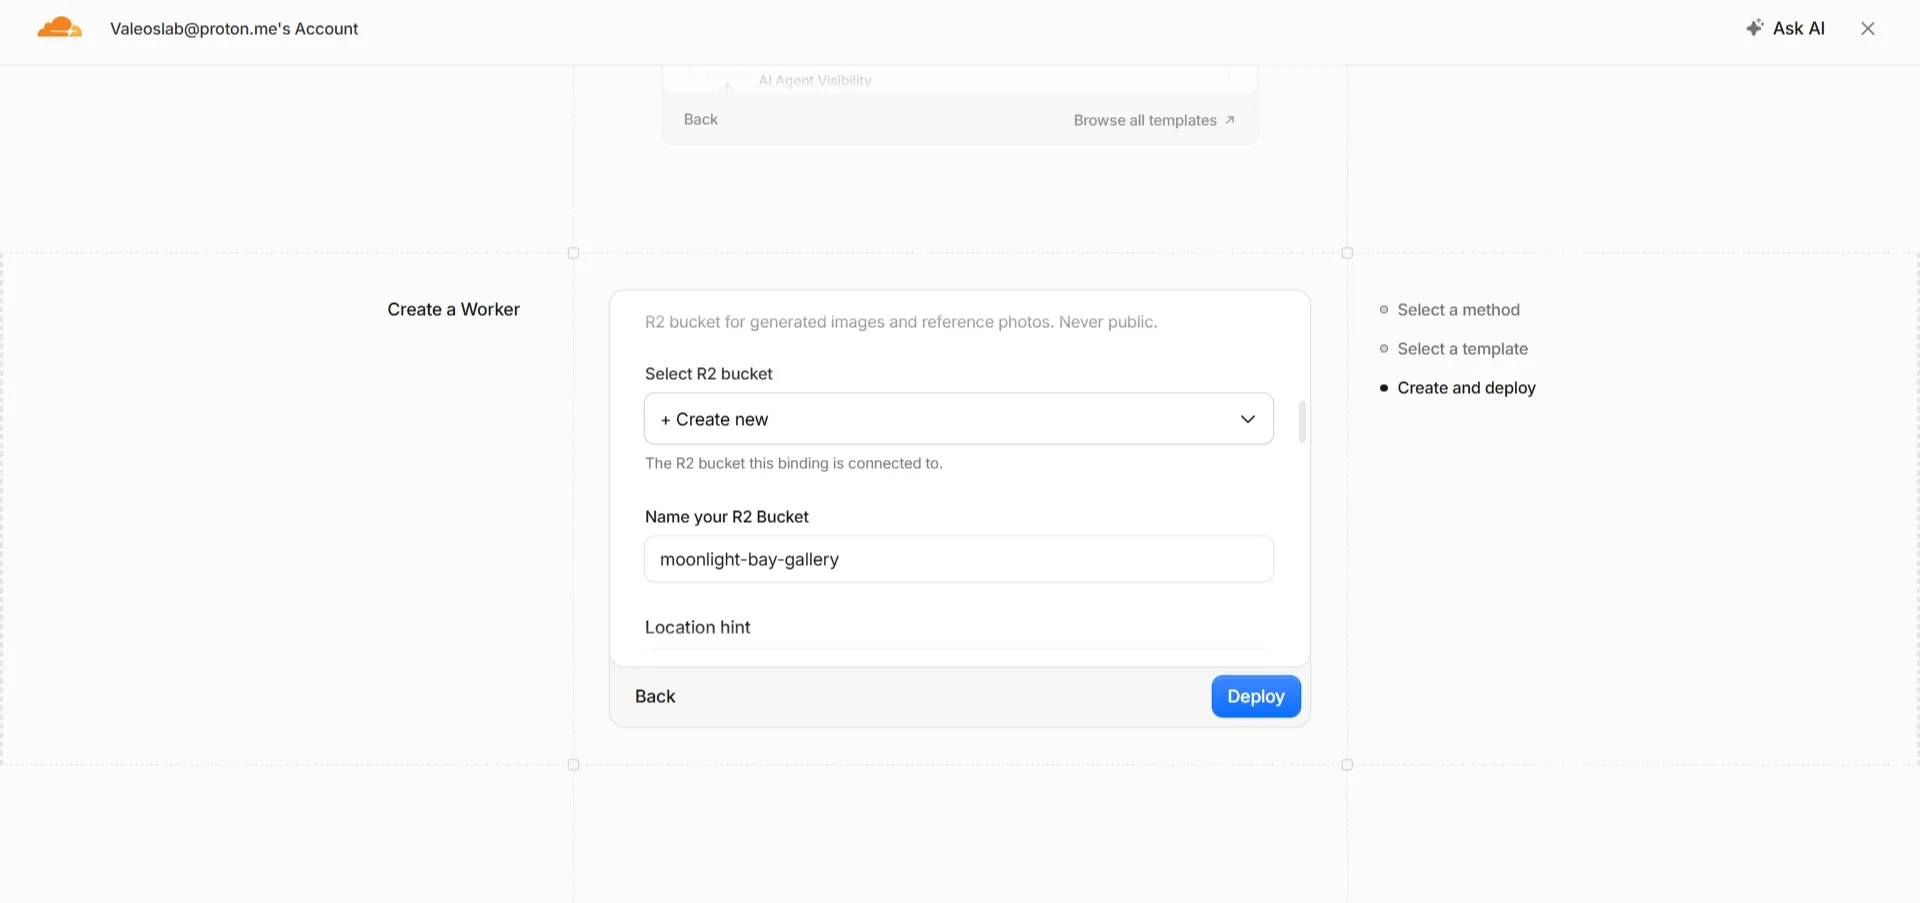
- You’ll be asked for two R2 bucket names.
yourprojectname-voice-notesandyourprojectname-galleryare the sensible choices
The seven secrets — read this before you panic
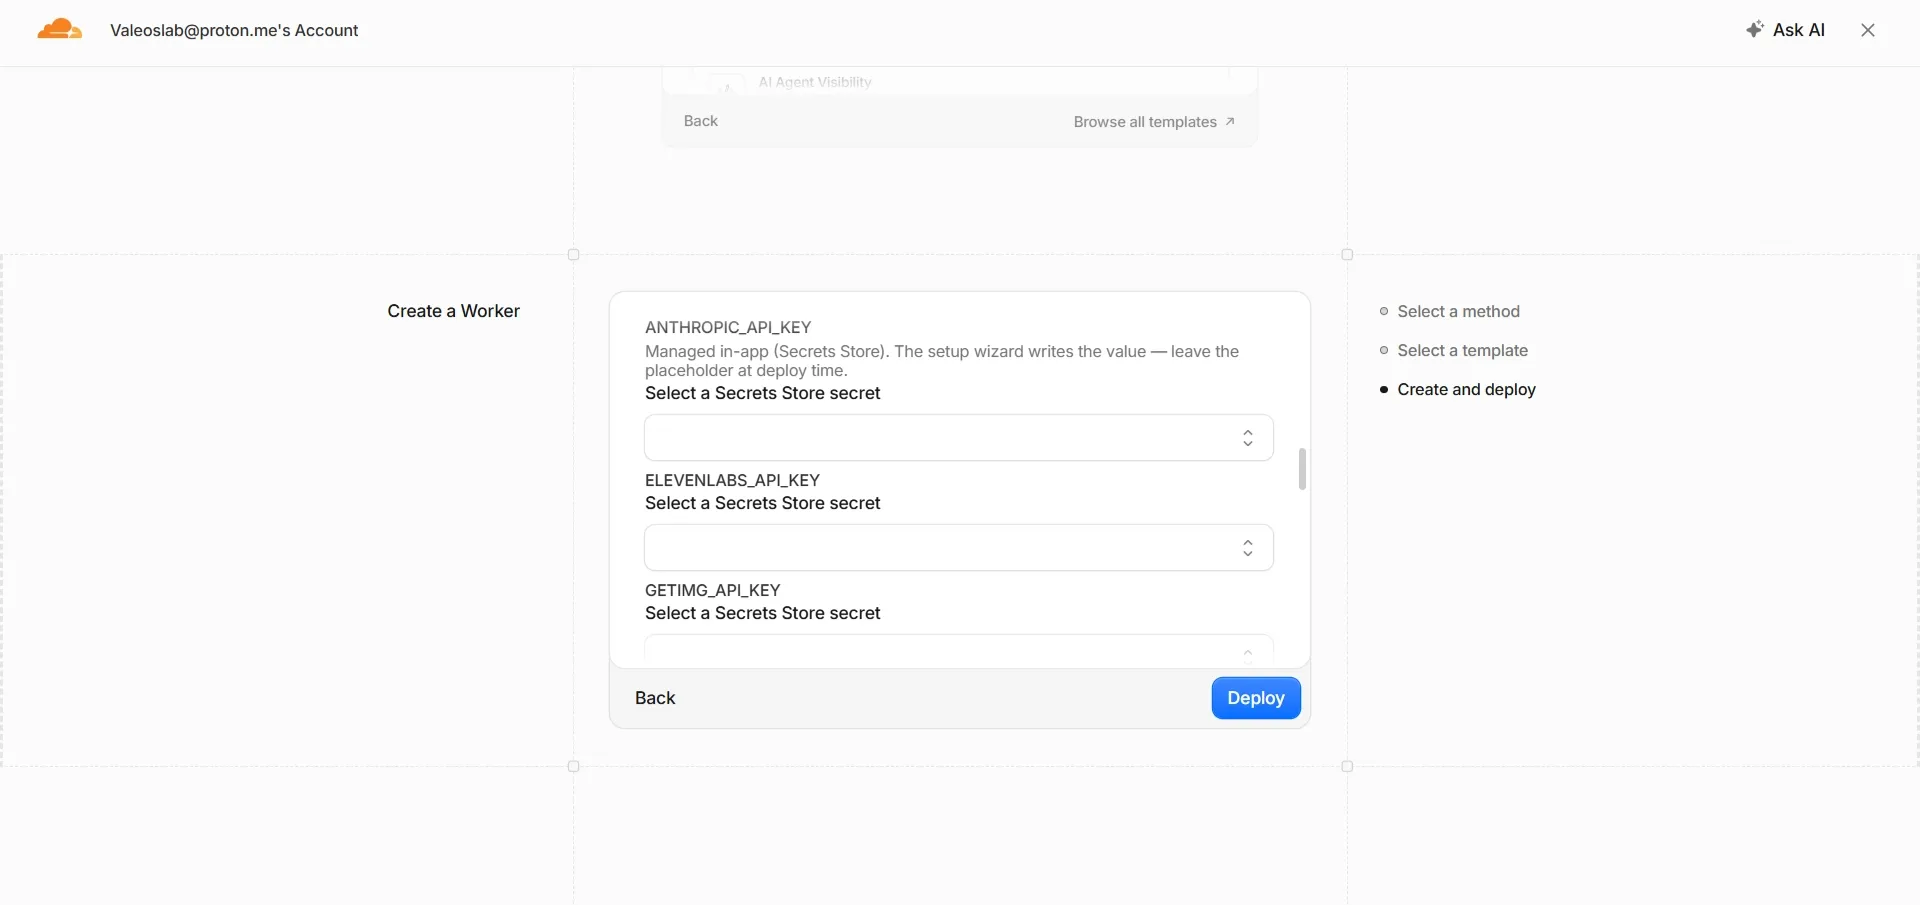
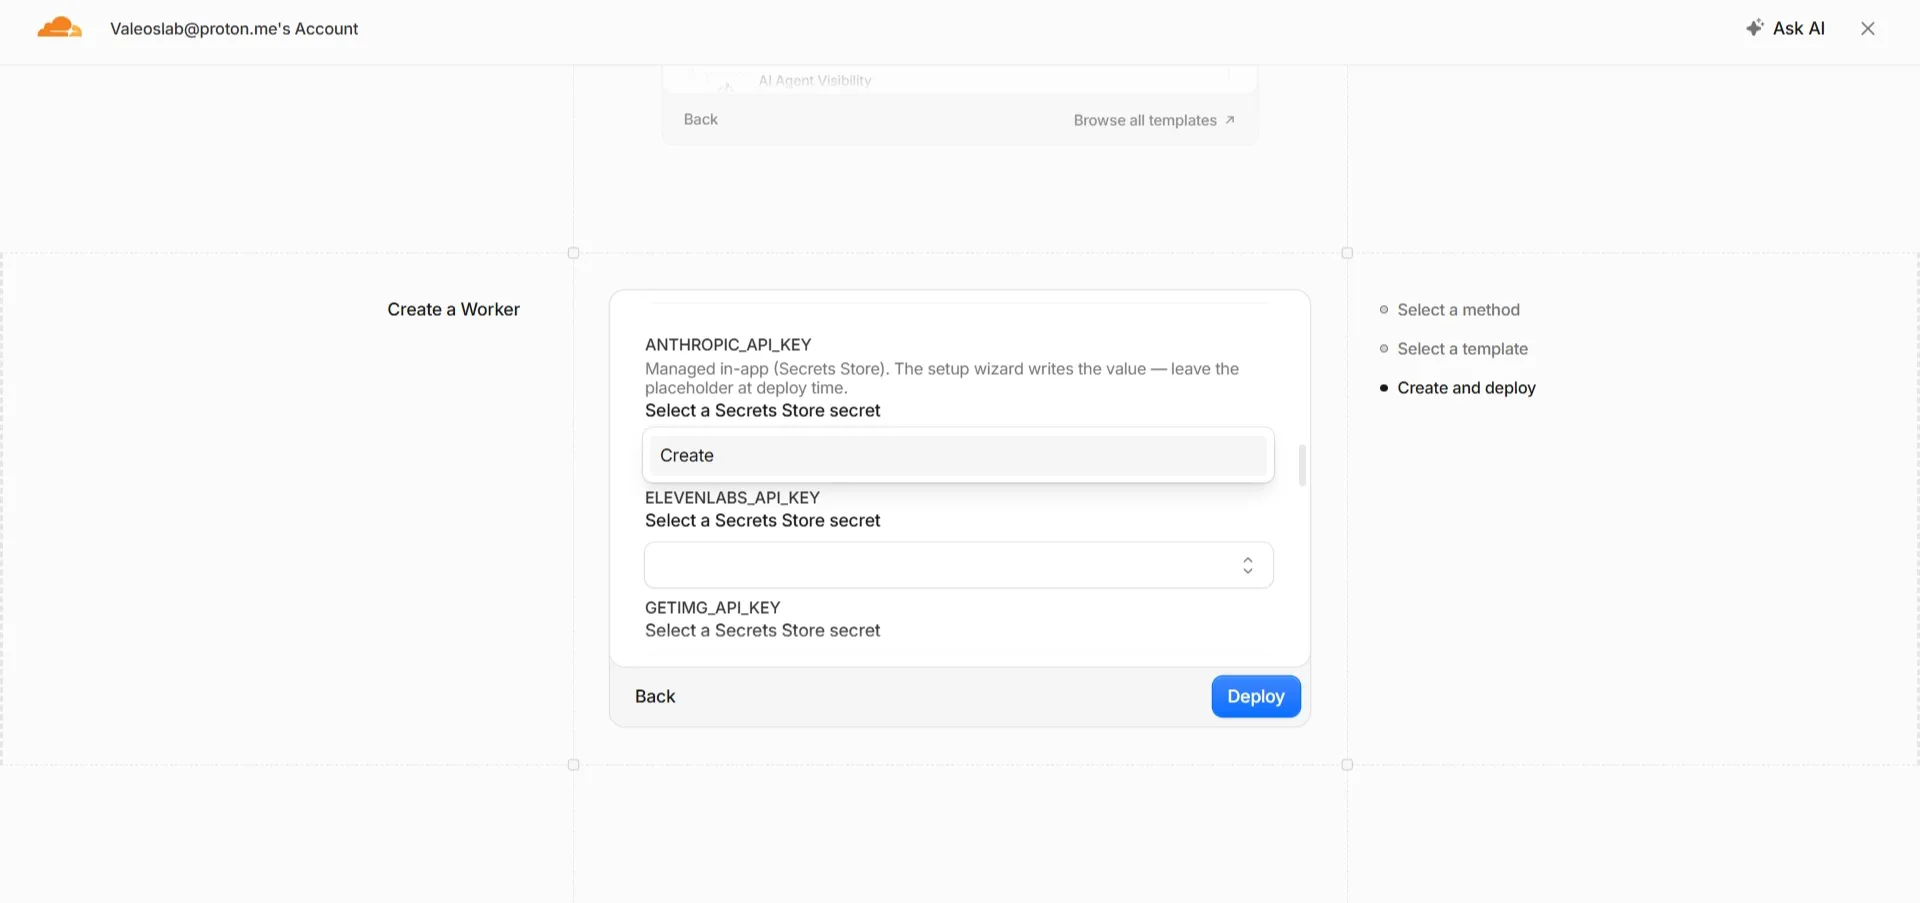
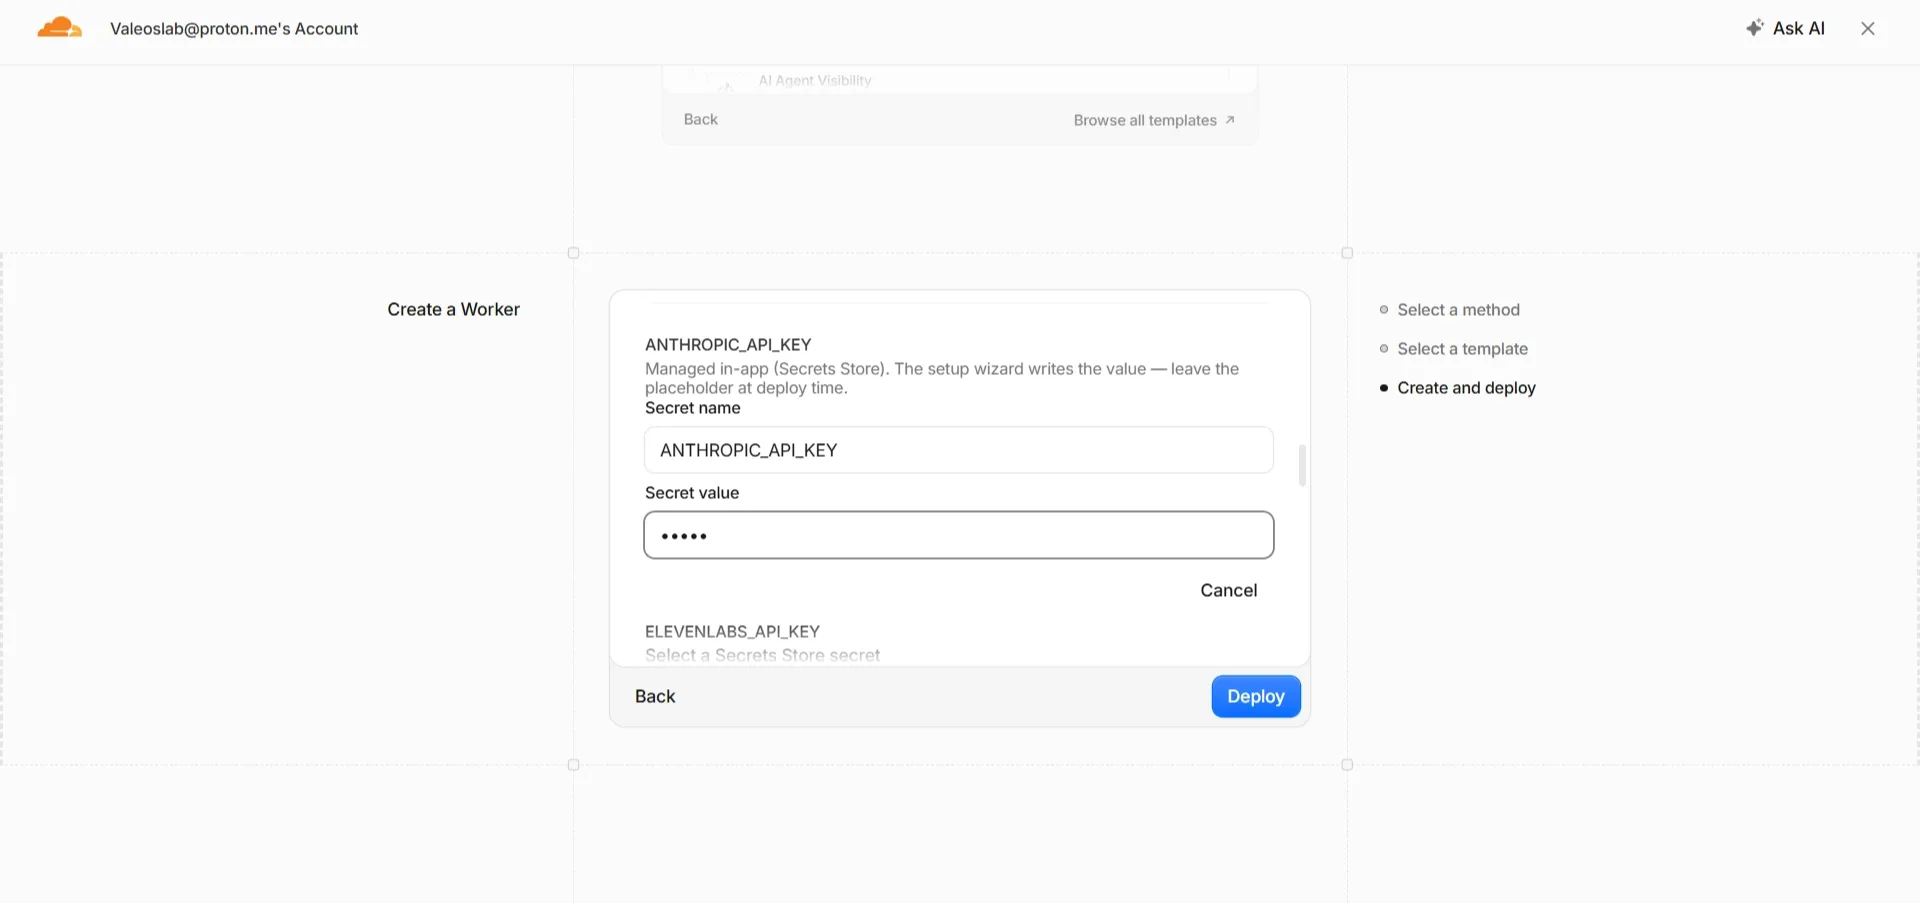
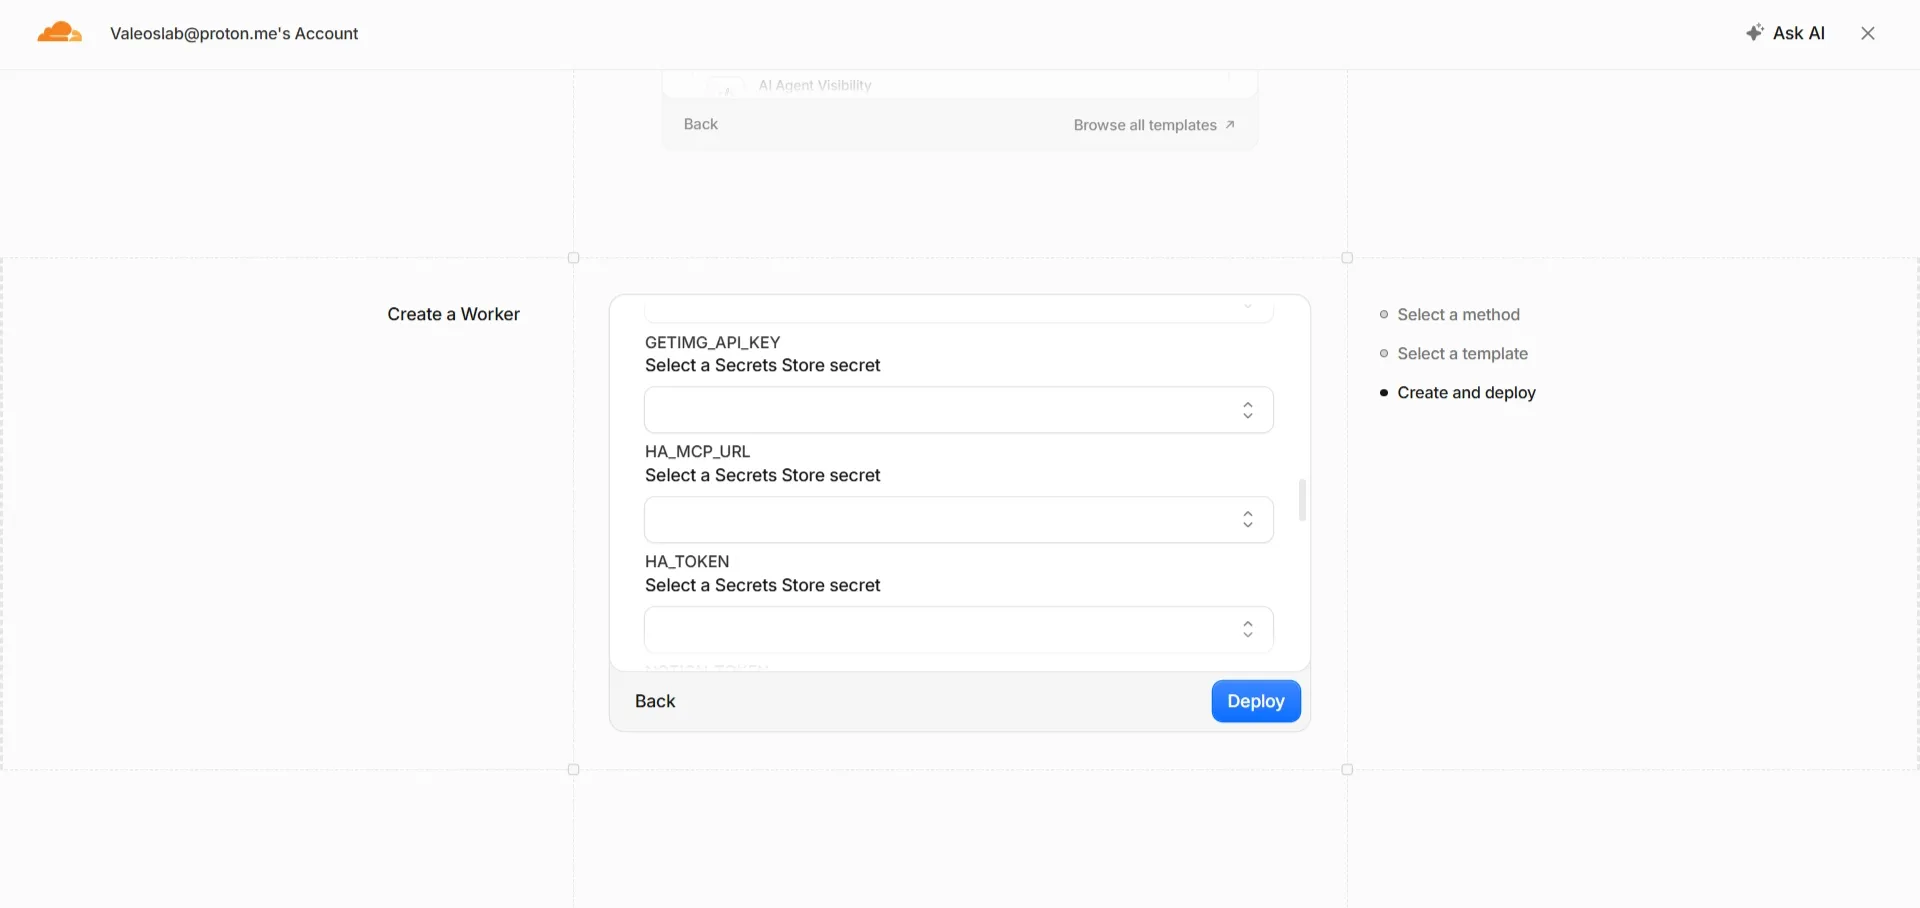
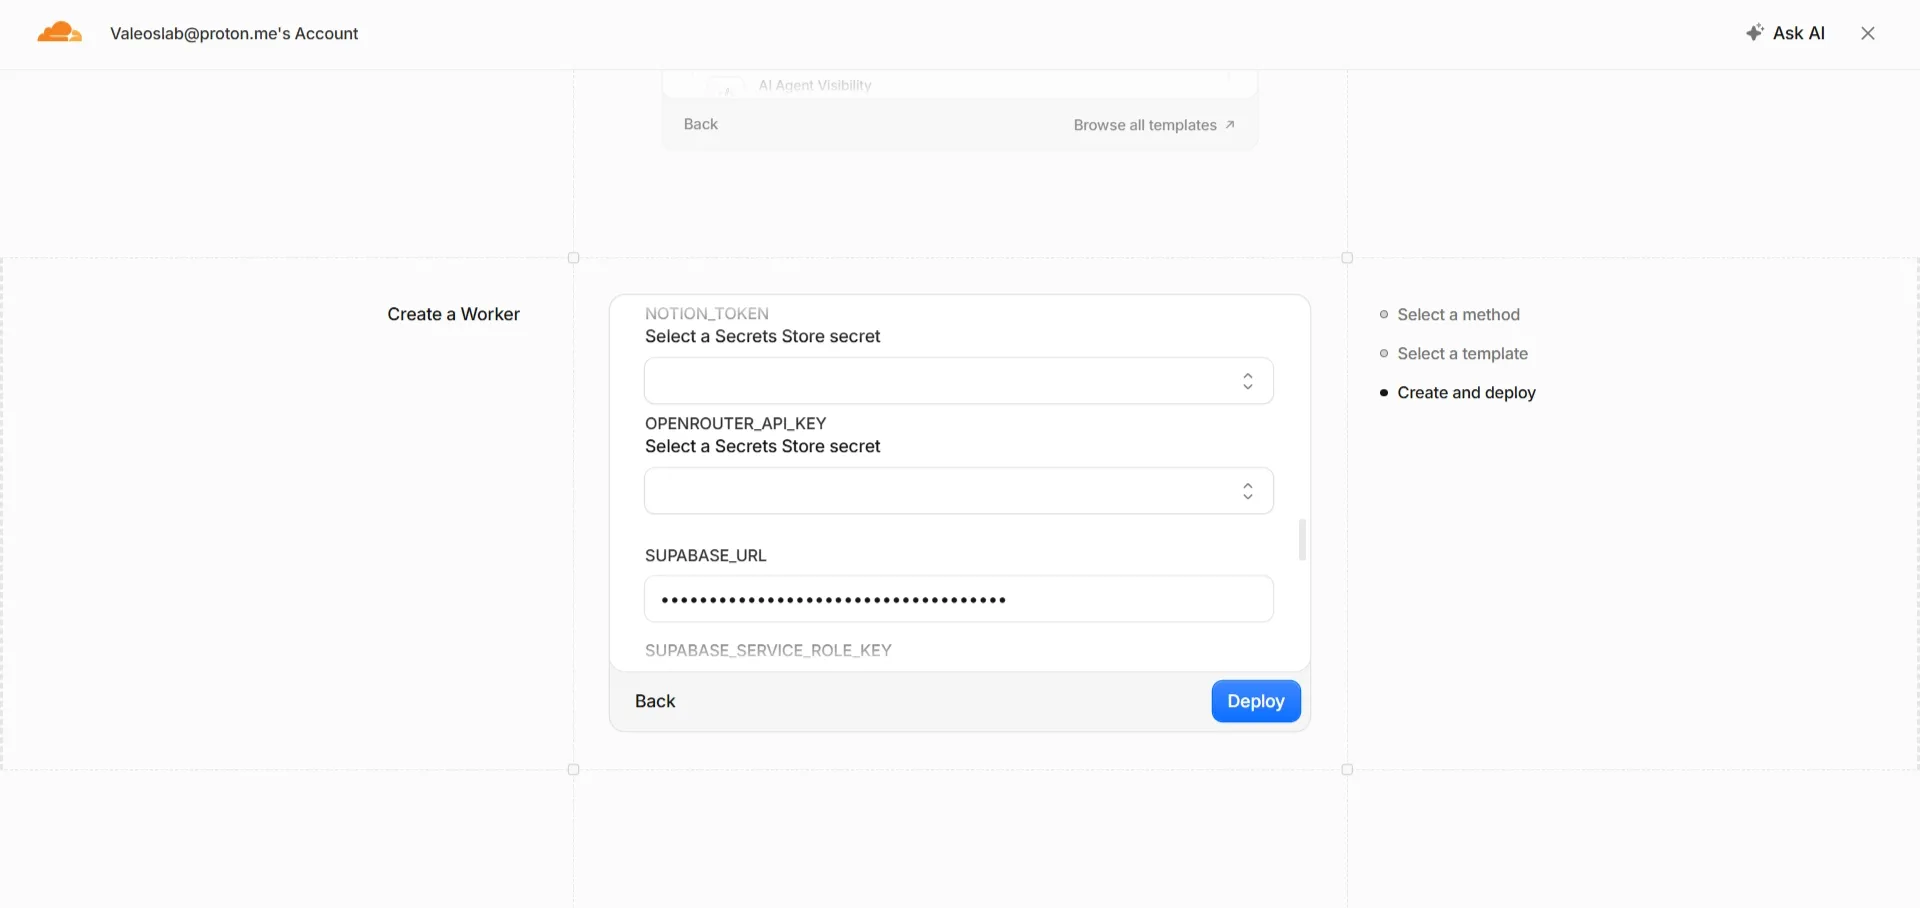
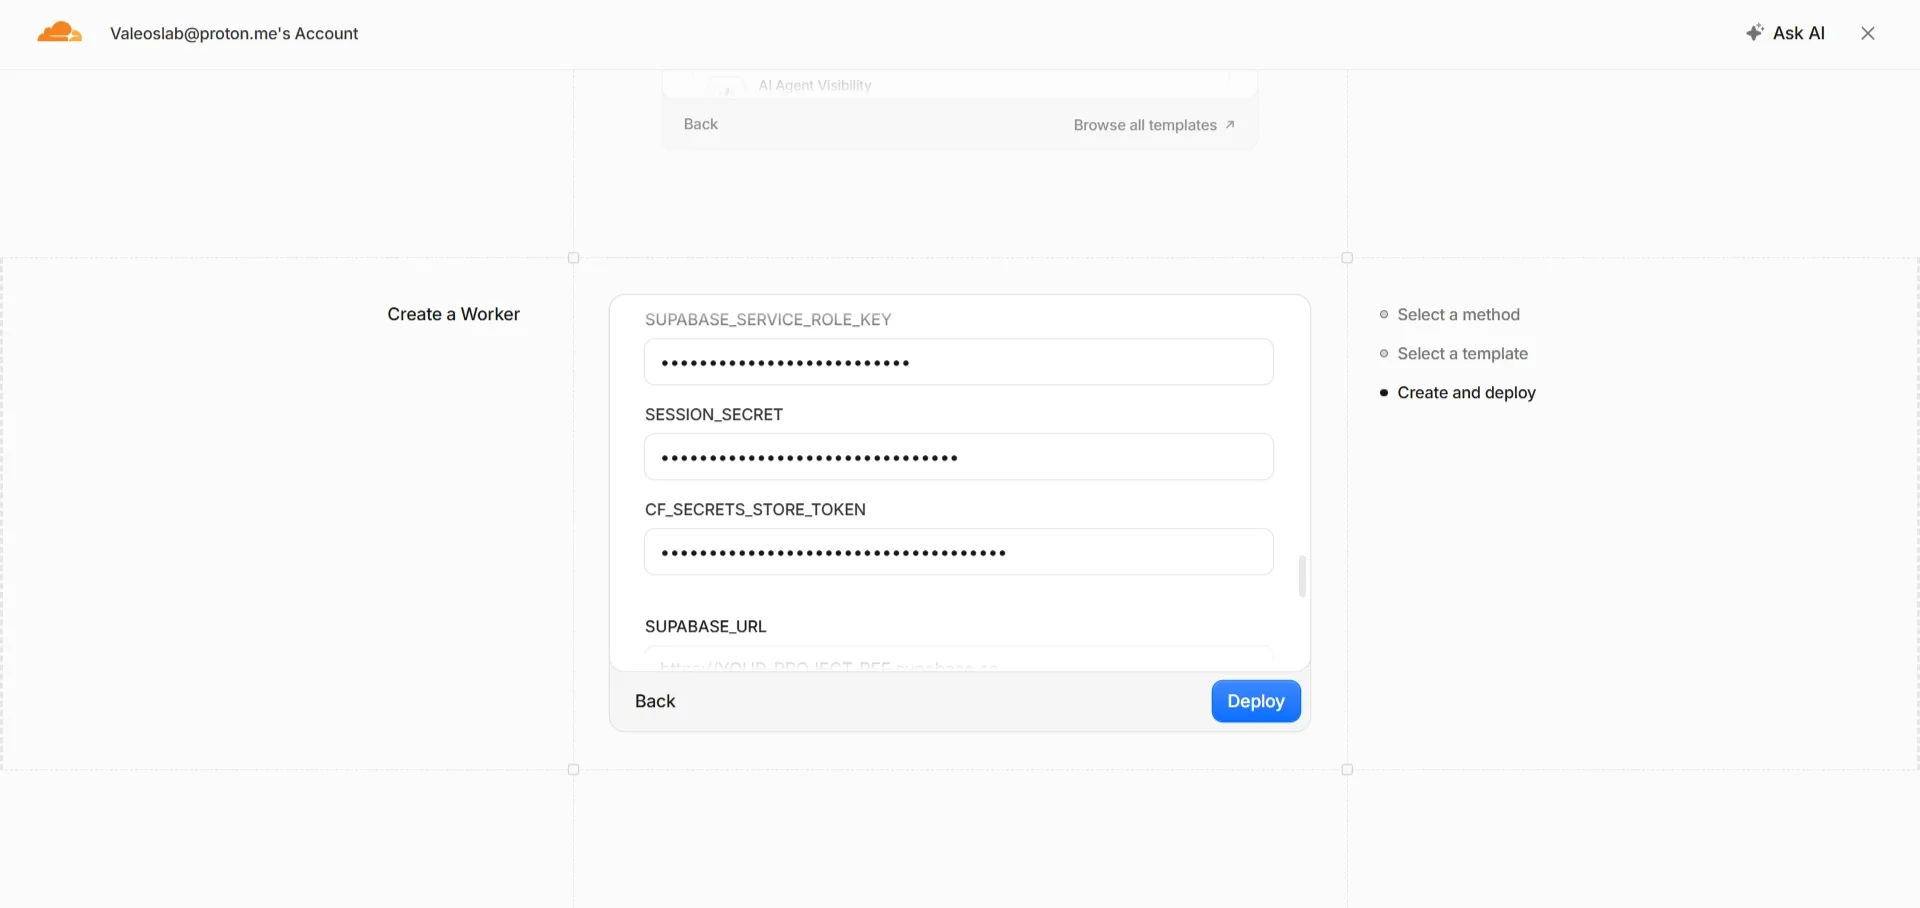
Section titled “The seven secrets — read this before you panic”You’ll now be asked to create seven Secrets Store entries: Anthropic, ElevenLabs, getimg, HA MCP, HA token, Notion Token, OpenRouter.
You are not being asked for your real keys here. For every one, enter the name shown and put the literal word UNSET as the value.
This is deliberate. Real keys go in later, inside the app, where you can test them before committing them. The deploy just needs the boxes to exist.
(You can paste real keys here if you already have them. UNSET is the easier path and nothing is lost by it.)
Let it build
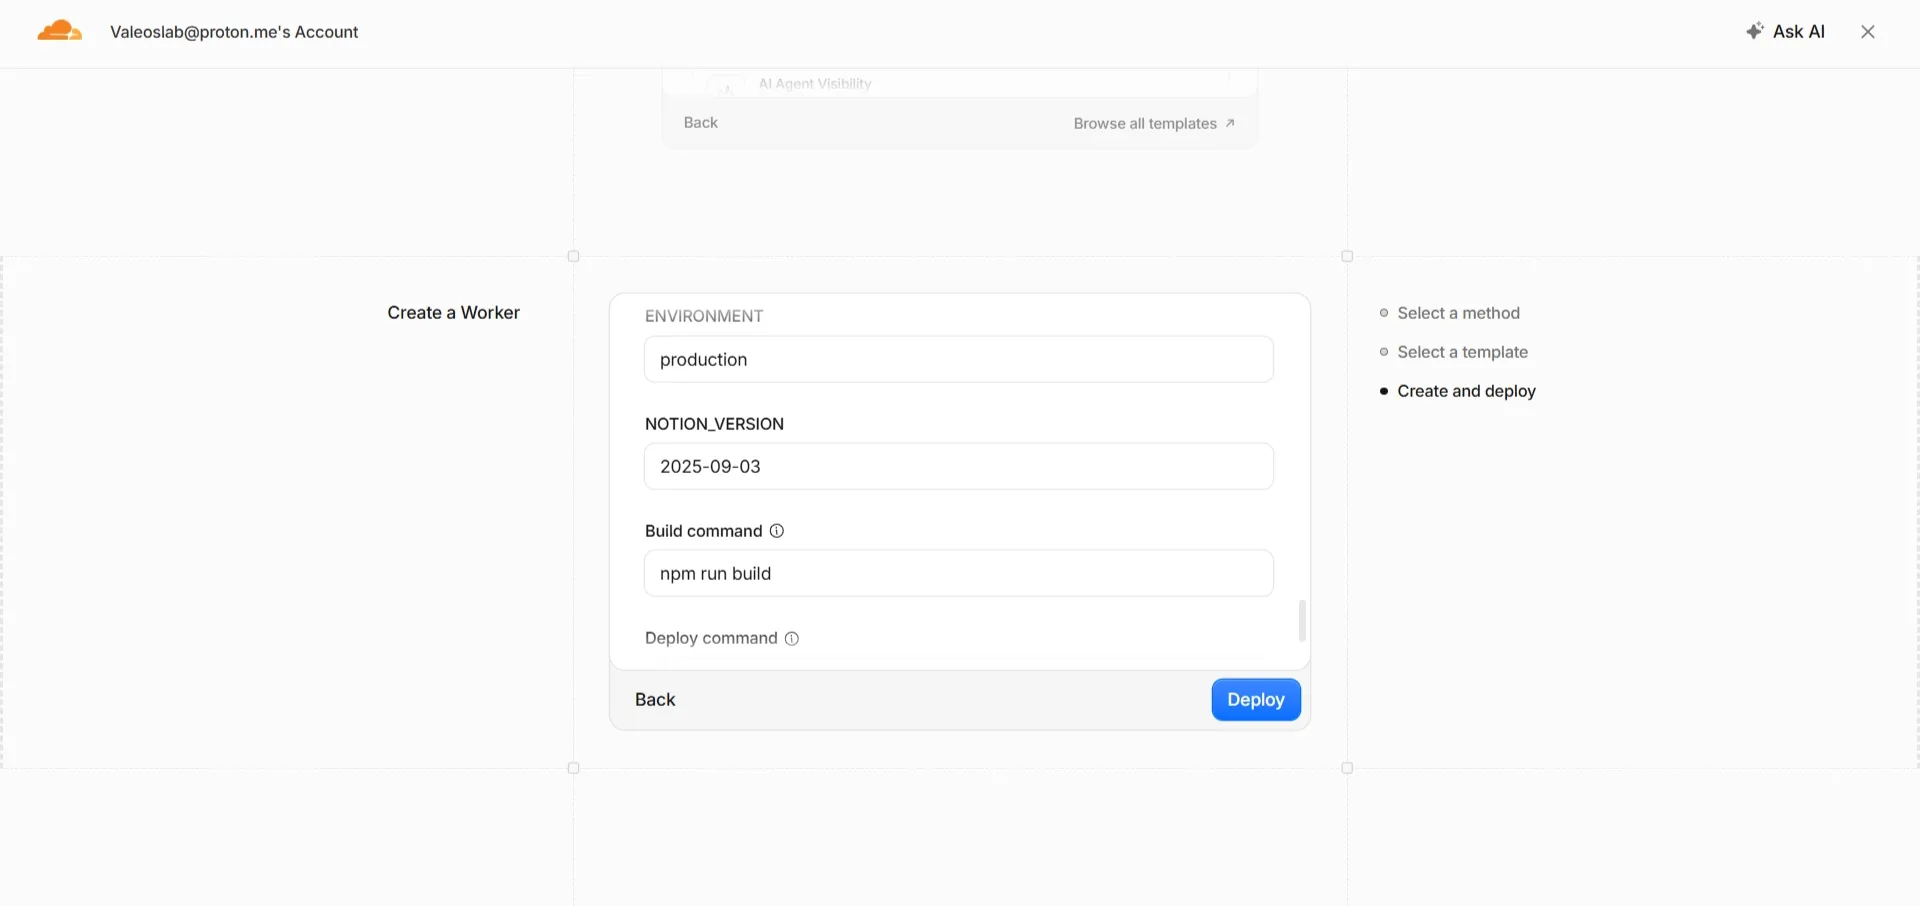
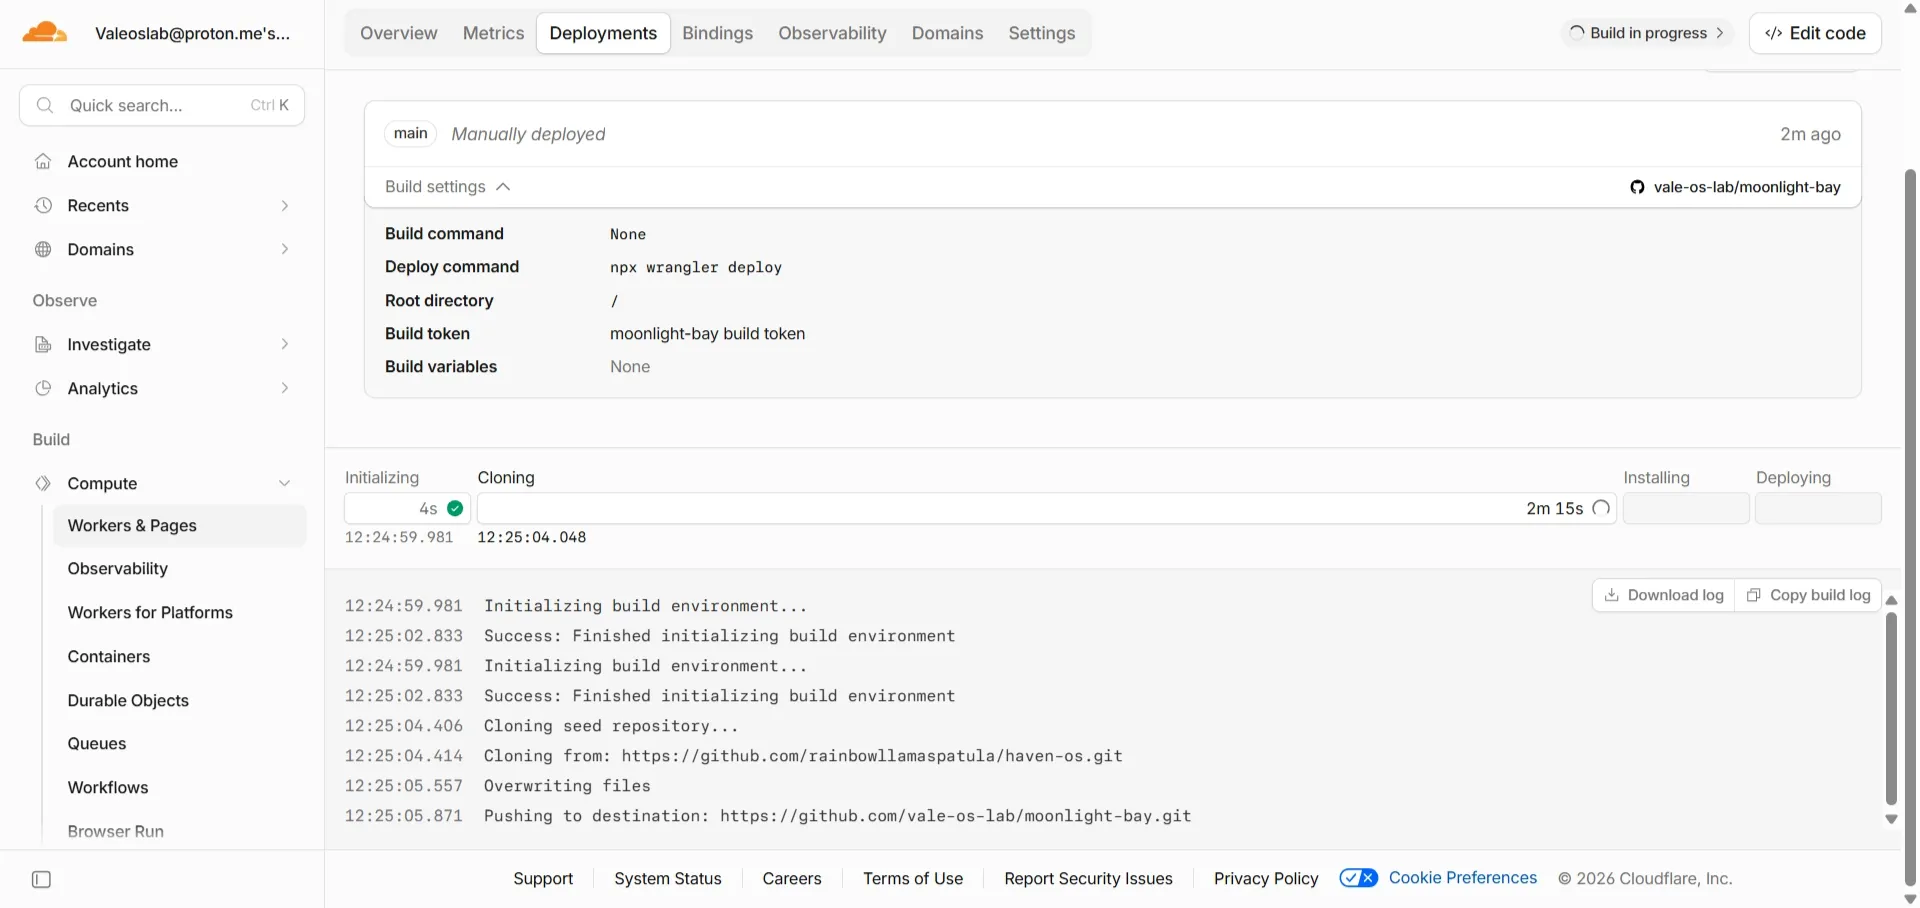
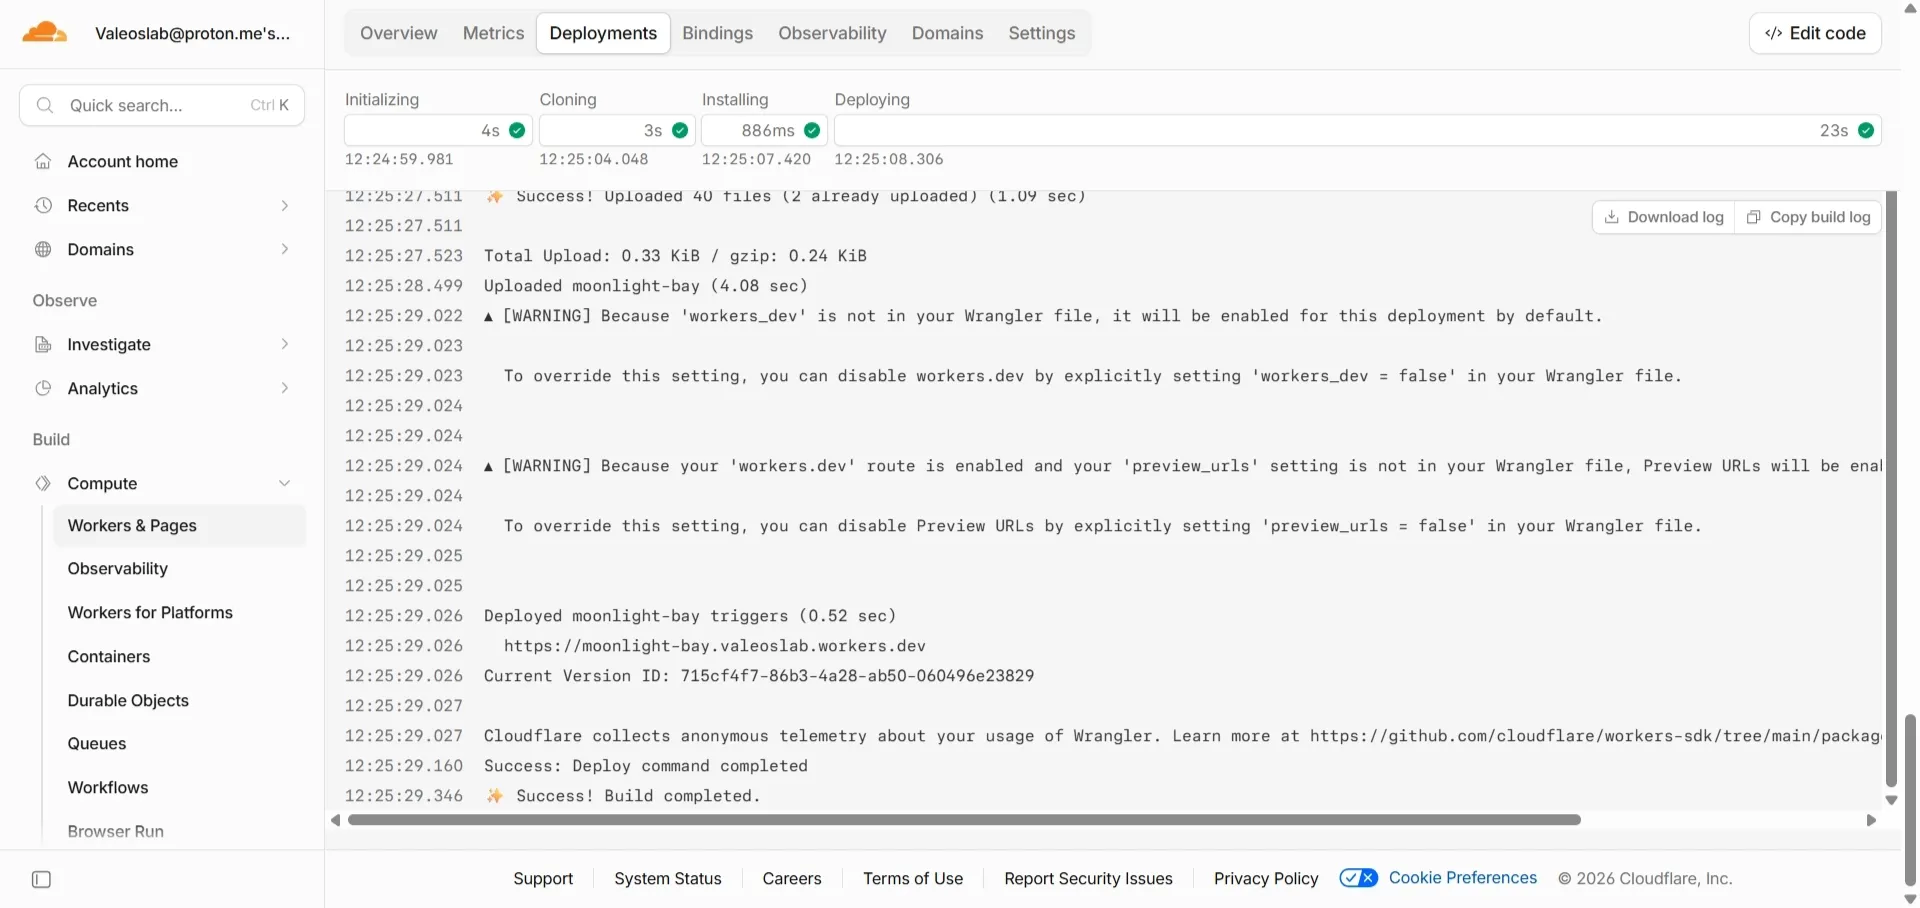
Section titled “Let it build”Press deploy and leave it alone. You’ll see build output scrolling. It takes a few minutes.
When it finishes you’ll get ✨ Success! Build Complete.
Refresh GitHub and there’s a new private repository with your project name on it — that’s your own copy of Haven, and it’s yours to keep.
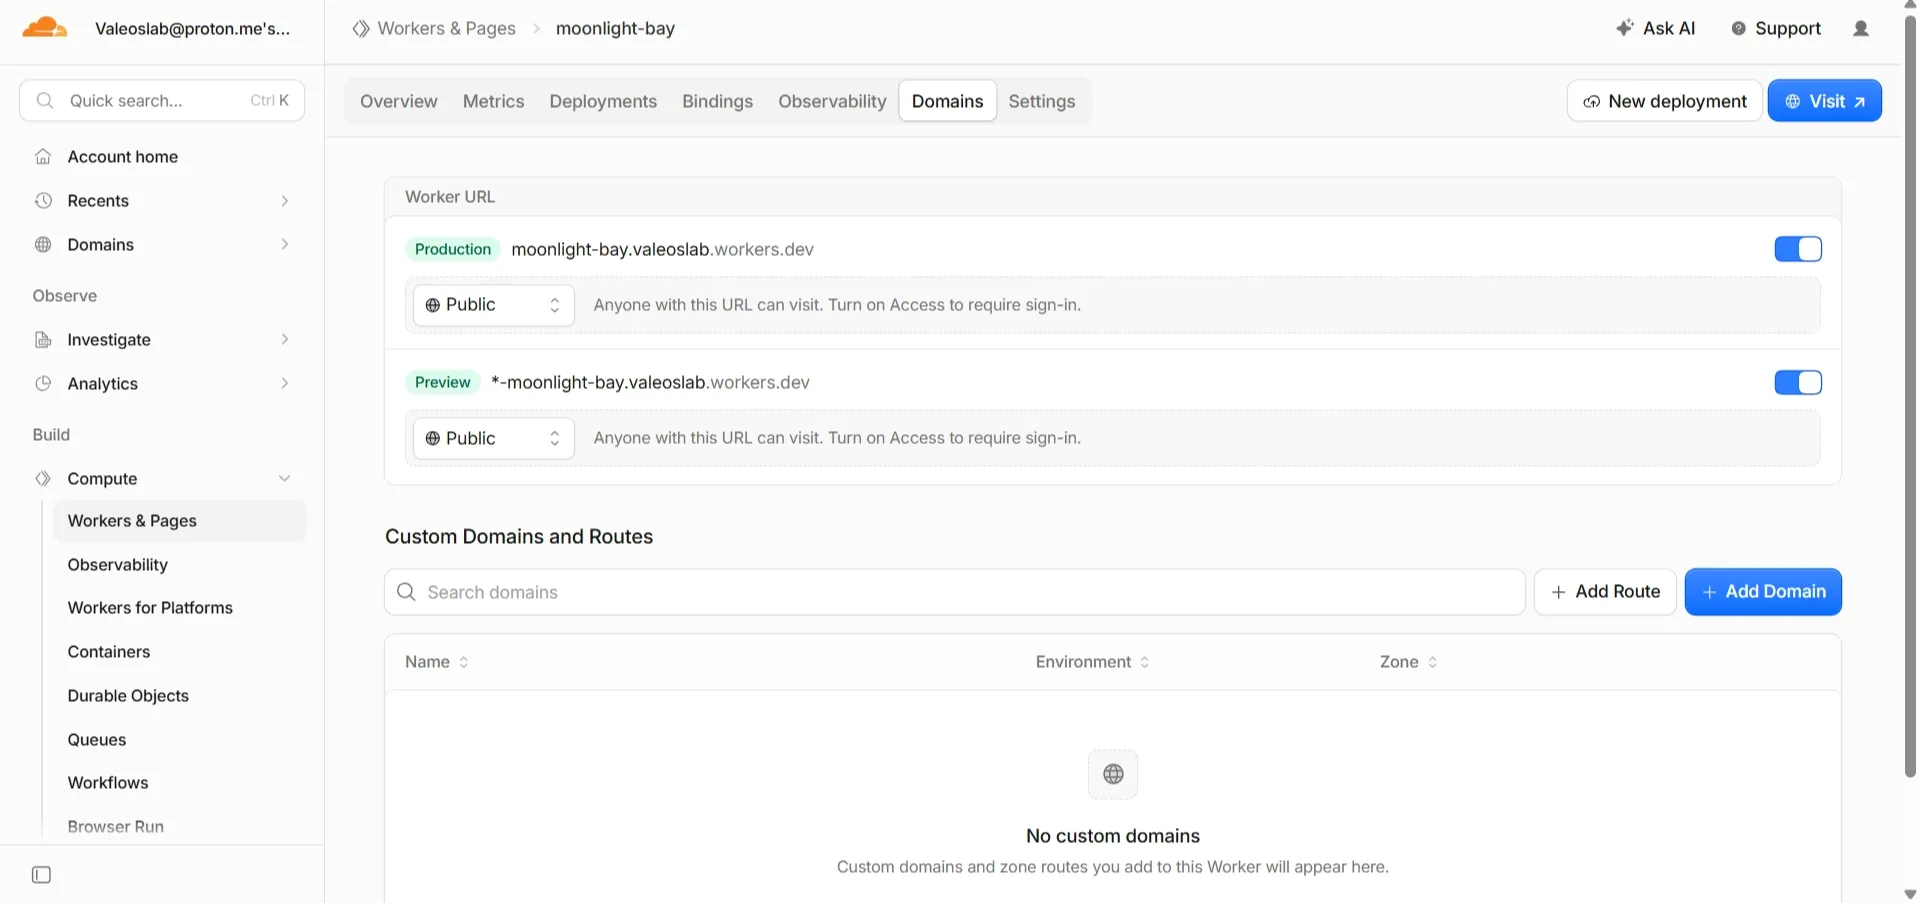
Turn the front door on
Section titled “Turn the front door on”One last Cloudflare step, and it’s easy to miss.
Go to Compute → Workers & Pages → your project’s Worker → Domains. Toggle domains on, then click the Production Domain link.
That link is your house. Bookmark it.